Turning a Chinese IoT camera into an owl livestream
My brother Spencer works as an artist in Asheville. He's also into nature conservation, leading a nature journaling class and regularly weaving ecology and local wildlife into his work.
1
In honor of Artemis II's recent mission, here's a topical piece (buy a print)! 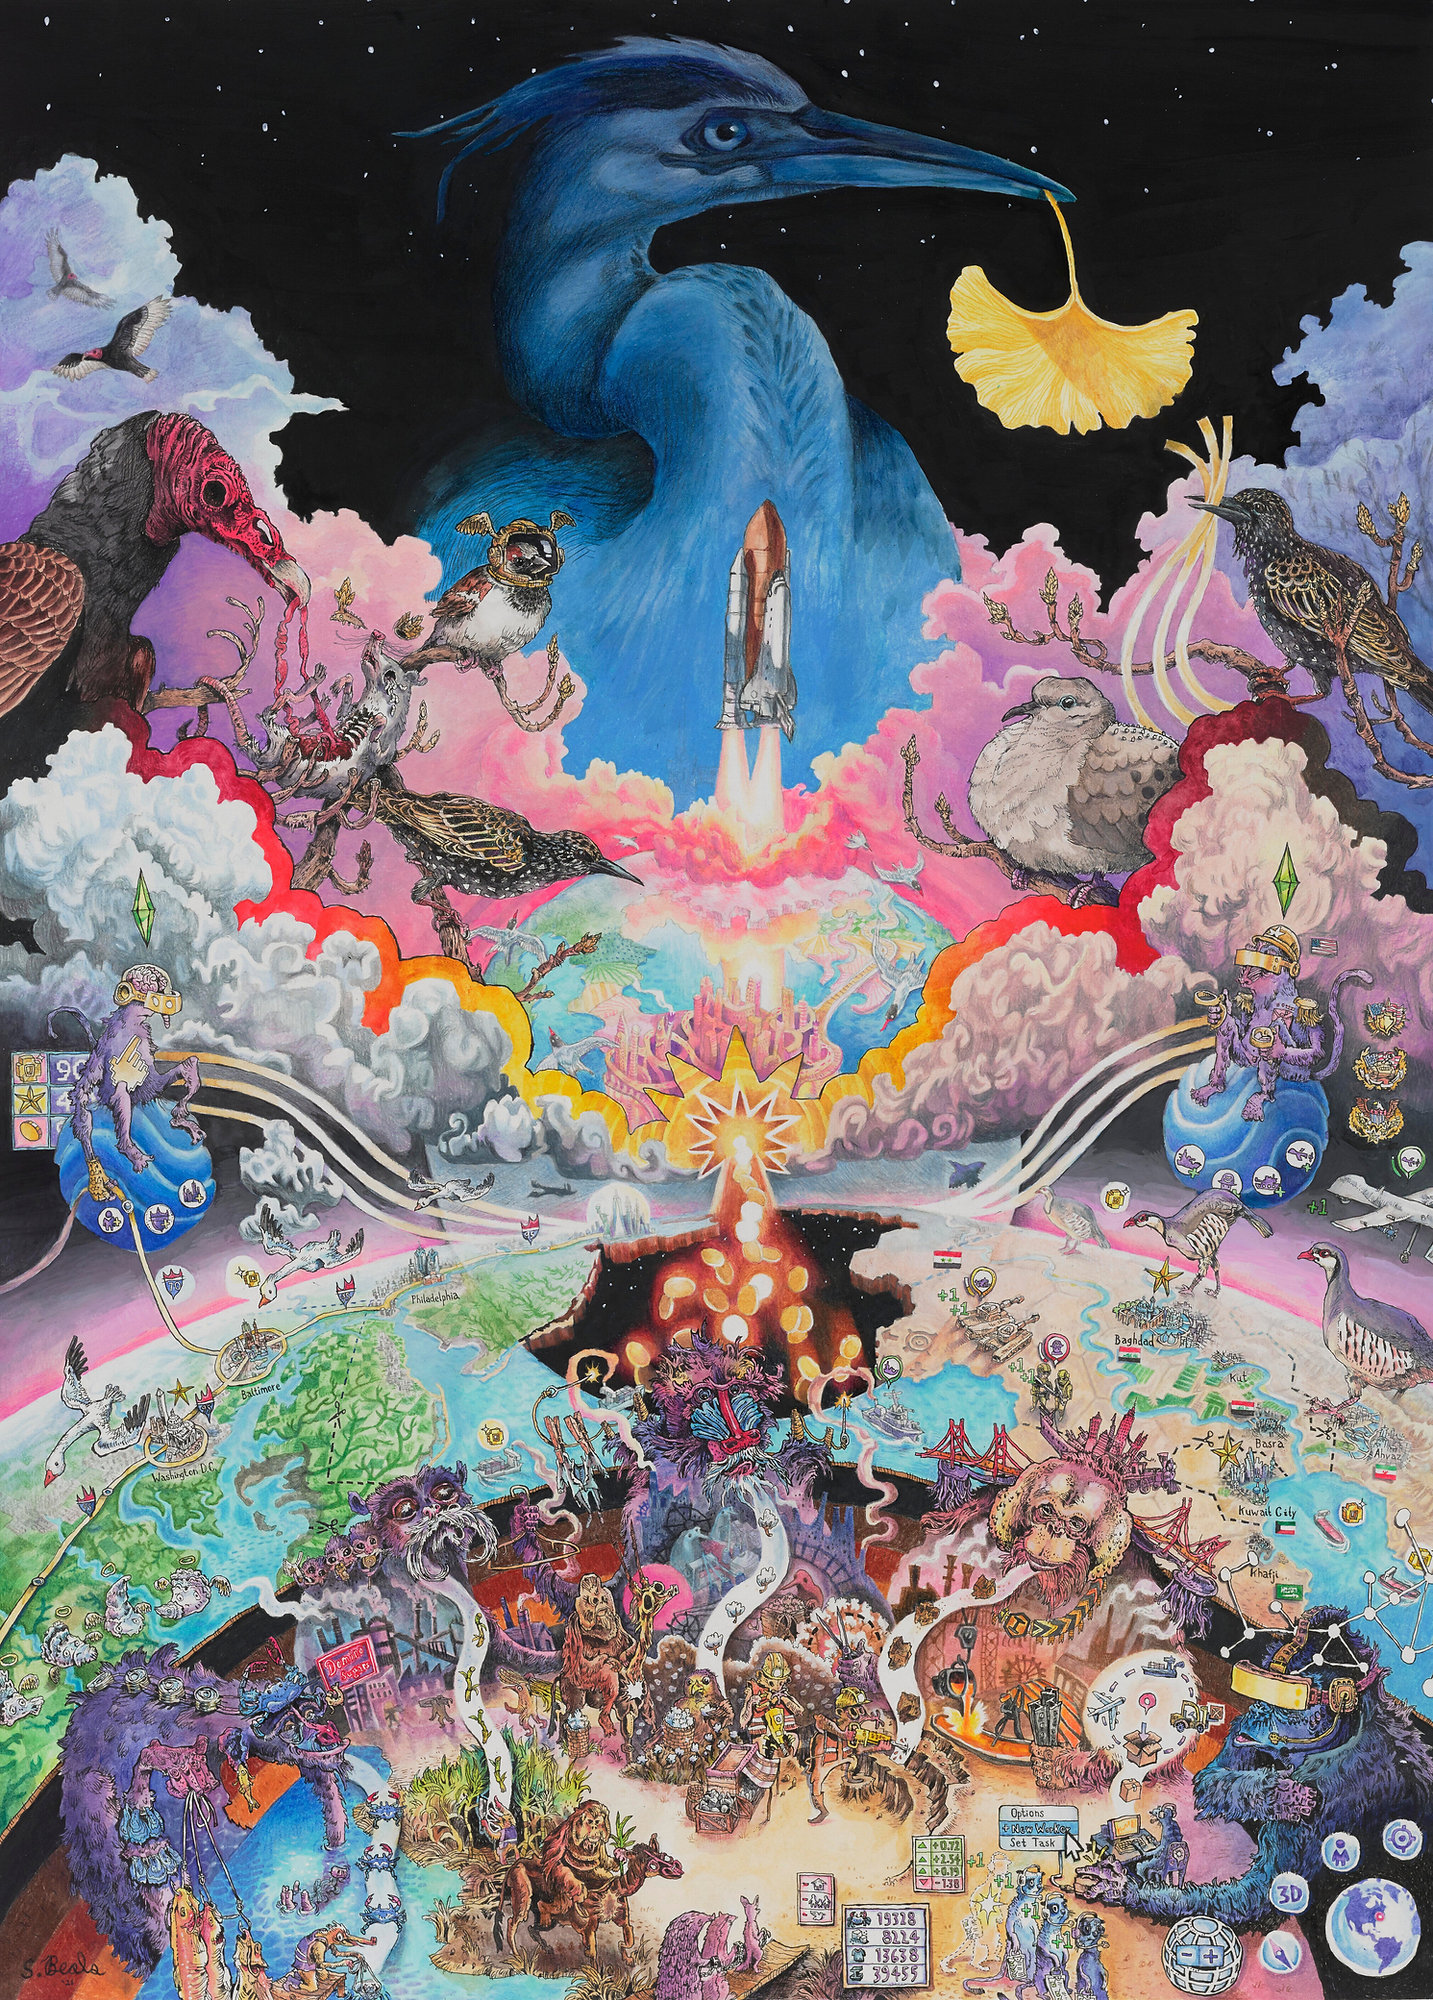 When UNC Asheville announced plans to turn a local urban forest into a soccer stadium, he pushed back.
2
For more information check out the Save the Woods website, sign the petition, or follow him on Instagram (@beals.art) for more on-the-ground updates.
To raise awareness of the benefits of the forest he started organizing naturalist walks, putting together art installations like Batland
3
At least until it was removed by UNC Asheville. But it's found a new home if you're in the area and want to visit!
and more recently leading birding sessions to show off a Great Horned Owl family and their three owlets. Spencer set up a 24/7 camera filming their nest but wanted to livestream that footage and couldn't figure out how — enter me, stage right! While it wasn't easy
4
Some might say that's because it's overengineered, and I should have just screen recorded a phone. I'd say they're haters.
here's how I eventually made it work (though unfortunately by the time you're reading this they've flown away and the livestream has ended).
When UNC Asheville announced plans to turn a local urban forest into a soccer stadium, he pushed back.
2
For more information check out the Save the Woods website, sign the petition, or follow him on Instagram (@beals.art) for more on-the-ground updates.
To raise awareness of the benefits of the forest he started organizing naturalist walks, putting together art installations like Batland
3
At least until it was removed by UNC Asheville. But it's found a new home if you're in the area and want to visit!
and more recently leading birding sessions to show off a Great Horned Owl family and their three owlets. Spencer set up a 24/7 camera filming their nest but wanted to livestream that footage and couldn't figure out how — enter me, stage right! While it wasn't easy
4
Some might say that's because it's overengineered, and I should have just screen recorded a phone. I'd say they're haters.
here's how I eventually made it work (though unfortunately by the time you're reading this they've flown away and the livestream has ended).
The camera and app experience
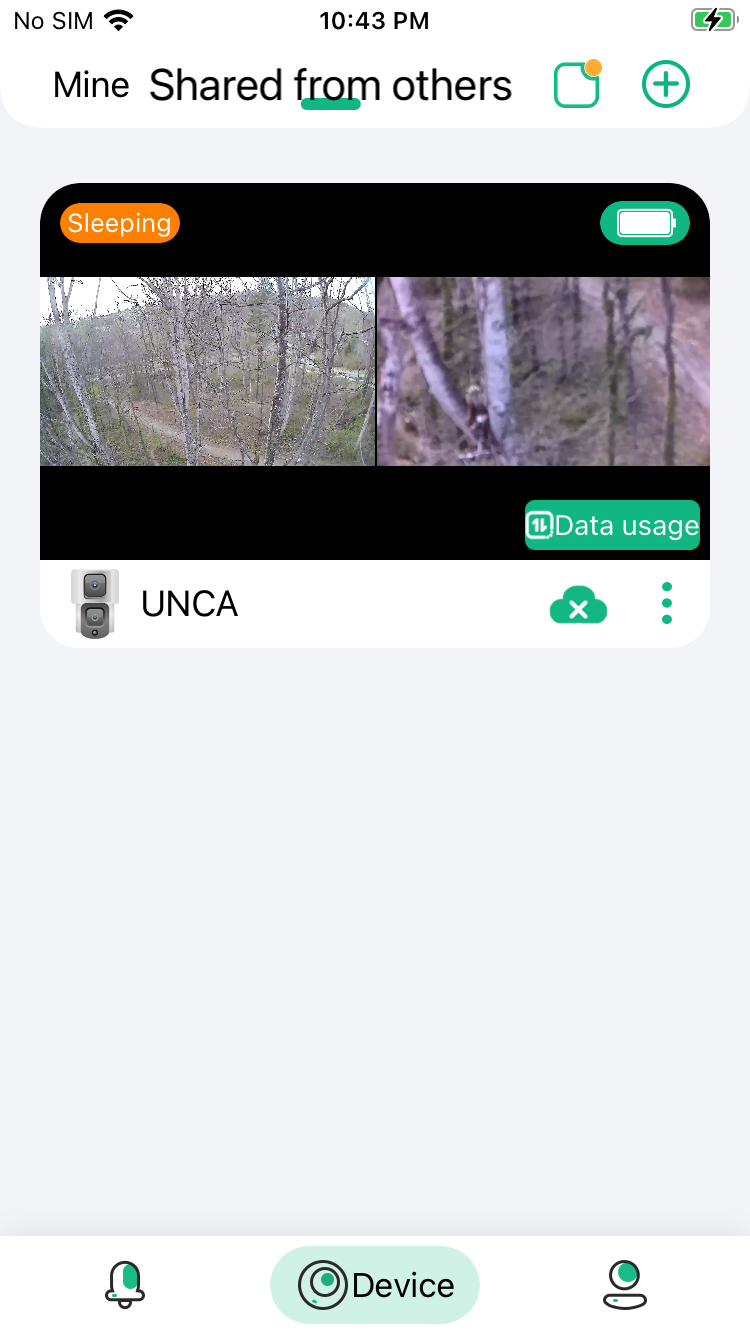
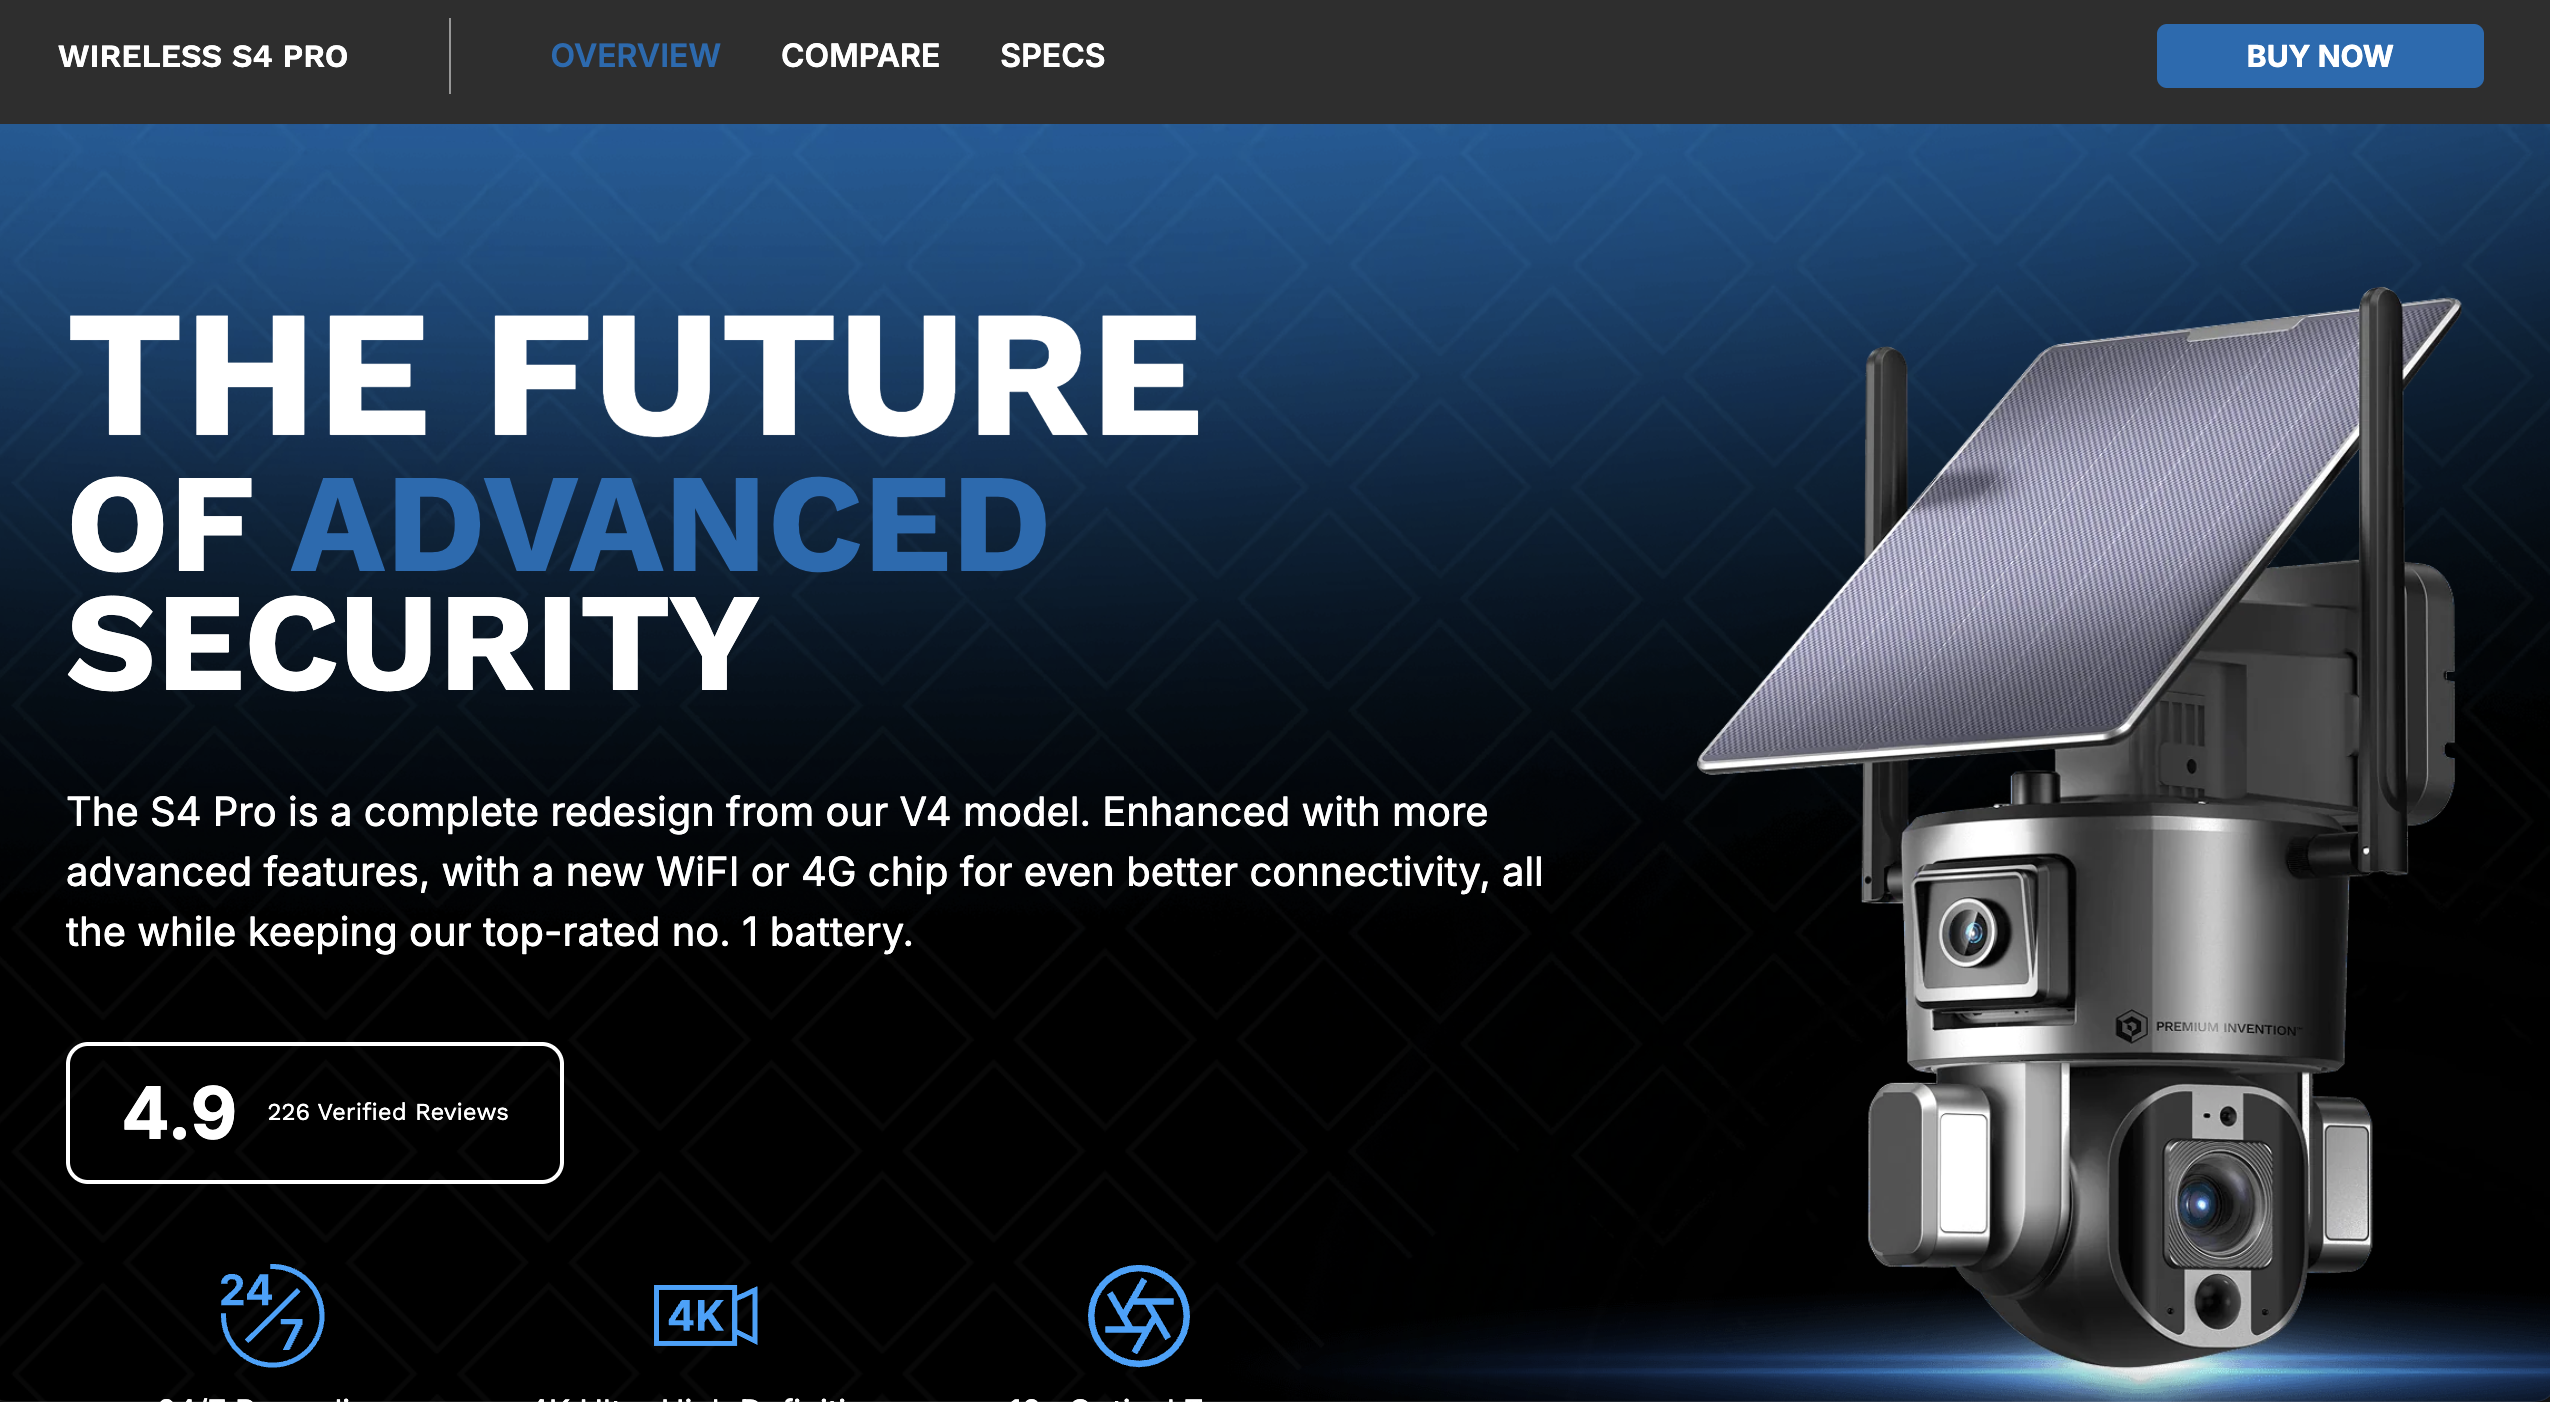
The camera that my brother ended up buying was an S4 Pro from Premium Invention which he promptly put 65ft up in a tree. The solar panels and 4G support make it great for set-and-forget security, but the app experience isn't great for livestreaming; the feed is controlled by an app, NiView, but the only way to see it is if Spence (as the camera owner) shares a link.
Requiring people to download an app and get a link doesn't scale well, and multiple connections quickly cut into the camera's battery life.
6
This is some mild foreshadowing.
But it's already installed and he's not climbing back up there. What if instead we could figure out how the camera feed was being rendered in the app, locally cache it, and then rebroadcast it on his website to anyone who wanted to watch? I figured there would be some web viewer or at the very least some .m3u8
7
A standard streaming playlist file, which backs the vast majority of live broadcasts.[citation needed]
file that we could grab and we'd be good to go.
Web viewer dead end
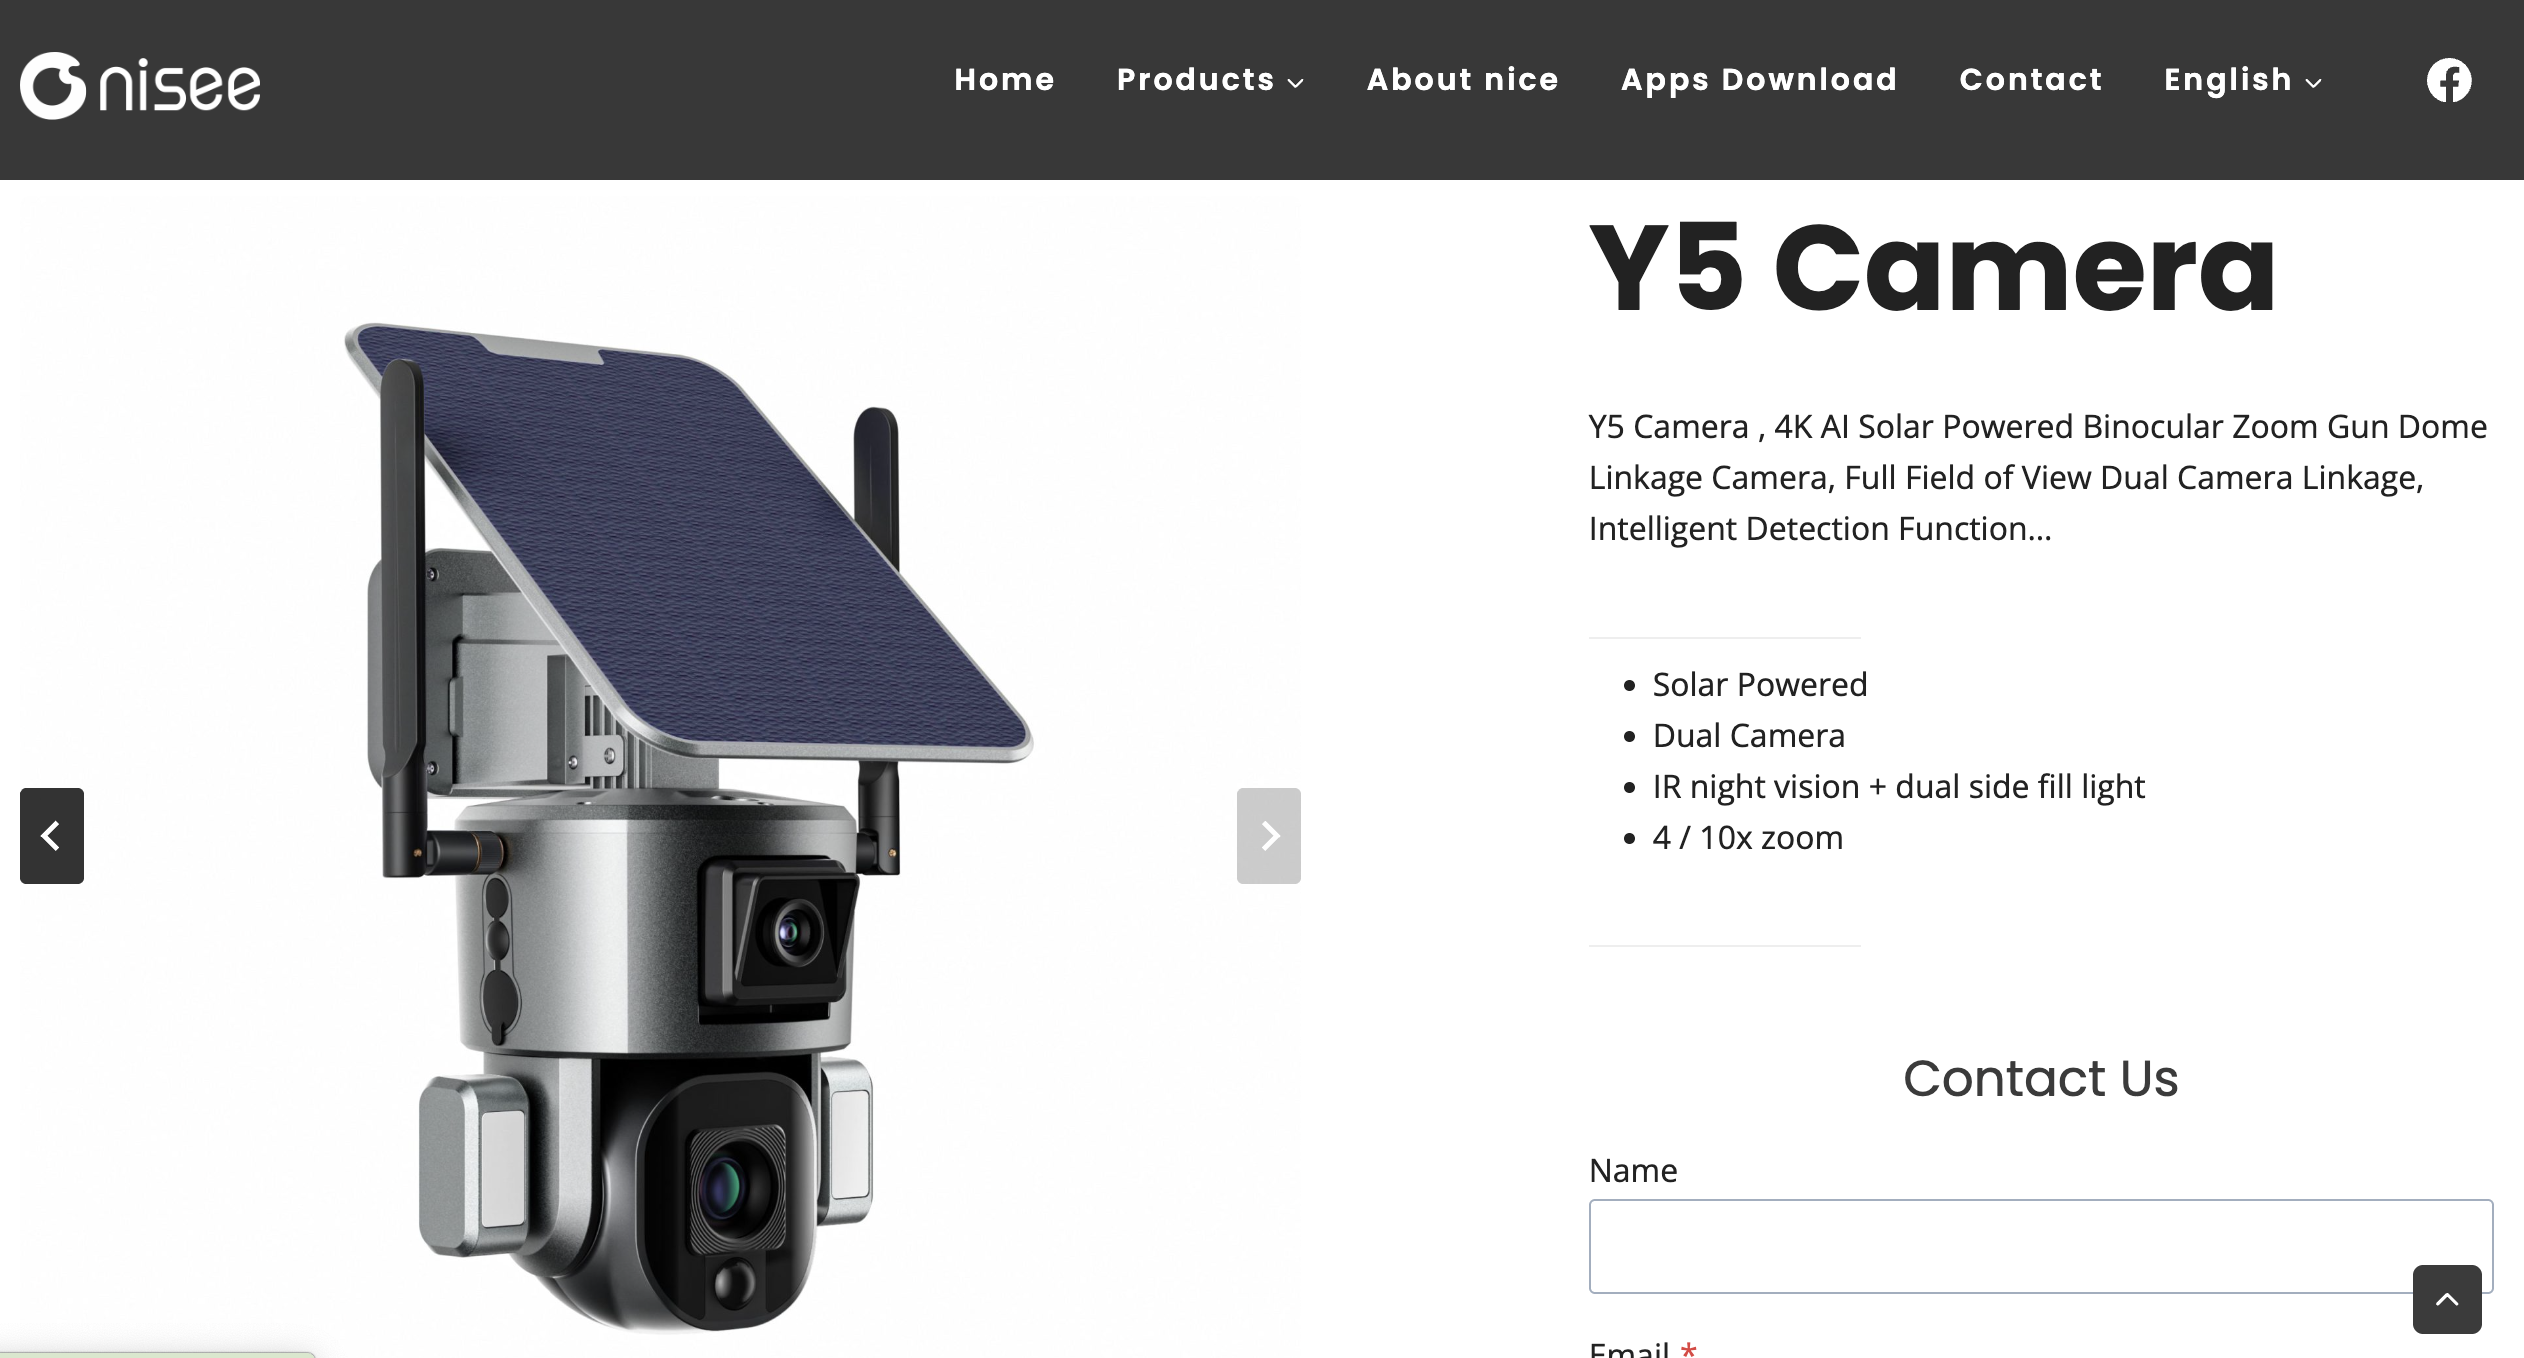
The first thing I did was check if there was a web viewer. While this is sold as an S4 Pro from Premium Invention it's actually just a repackaged Y5 Camera from Nice Intelligence (and available from AliExpress for half the price).
The NiView app is Nice Intelligence's app, but while they had Android apks
8
Complete with a separate APK for Mainland China, which I found interesting. Not sure why: I didn't diff them.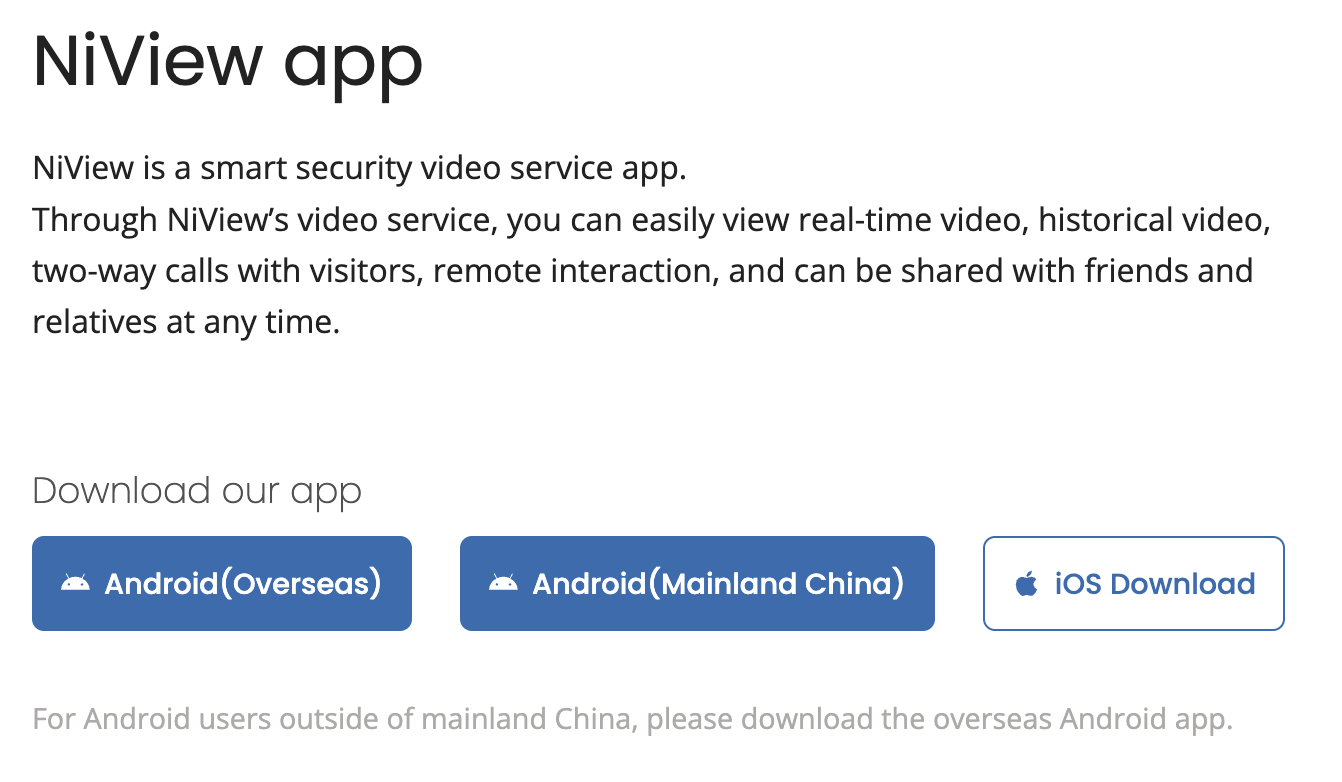 to go along with their iOS app, none of the links I looked through at https://niview.app/ and https://www.niceviewer.com/ had a web browser,
9
Even though the Premium Invention website claimed they did. Maybe this was referring to this Windows wrapper of the app, only available in China?
to go along with their iOS app, none of the links I looked through at https://niview.app/ and https://www.niceviewer.com/ had a web browser,
9
Even though the Premium Invention website claimed they did. Maybe this was referring to this Windows wrapper of the app, only available in China?  making extracting it substantially harder.
mitmproxy dead end
My post on reverse-engineering the Letterboxd API goes into more depth on how I set this up if you're curious, but generally mitmproxy is software to set up an HTTP proxy on my laptop. Pointing my phone to it runs all URLs
10
Normally apps can prevent this for certain URLs by saying "only succeed if I'm talking to the real server" but because my phone is jailbroken and I'm running "SSL Kill Switch 3" I can bypass the certificate pinning responsible for that check.
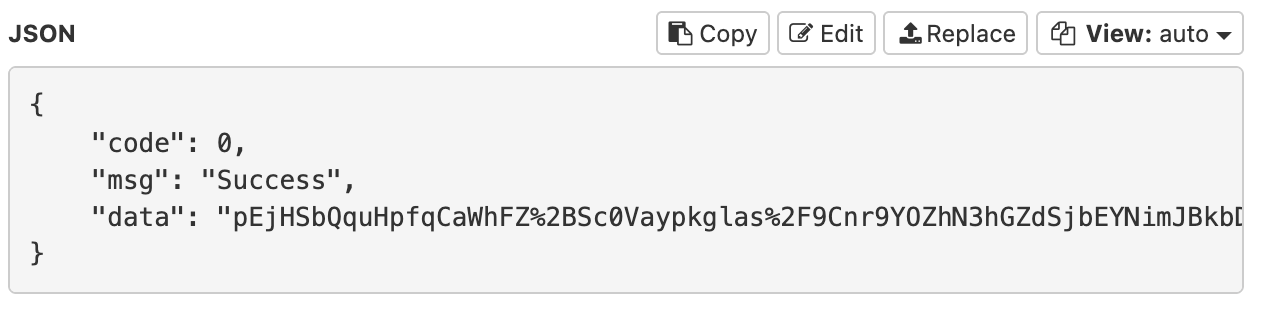
that the phone looks up through that proxy, and we can see what it's querying and what it's getting back. As a reminder I'm looking for a clear request to some camera service that I can repurpose into a broadcast. Unfortunately that wasn't the case: while I got requests to https://cloud-us1.niceviewer.com:8463/v1/device/devices and https://cloud-us1.niceviewer.com:8463/v2/device/getDeviceStatus they were just information about which cams I could see.
11
Based on the error page this API is using Spring, and based on the main IP 301-ing to https://niview-prod-na-pic-1302374016.cos.na-siliconvalley.myqcloud.com/server_static/index-na.html this is hosted by Tencent Cloud, their AWS equivalent. No trivial API documentation that I could find.
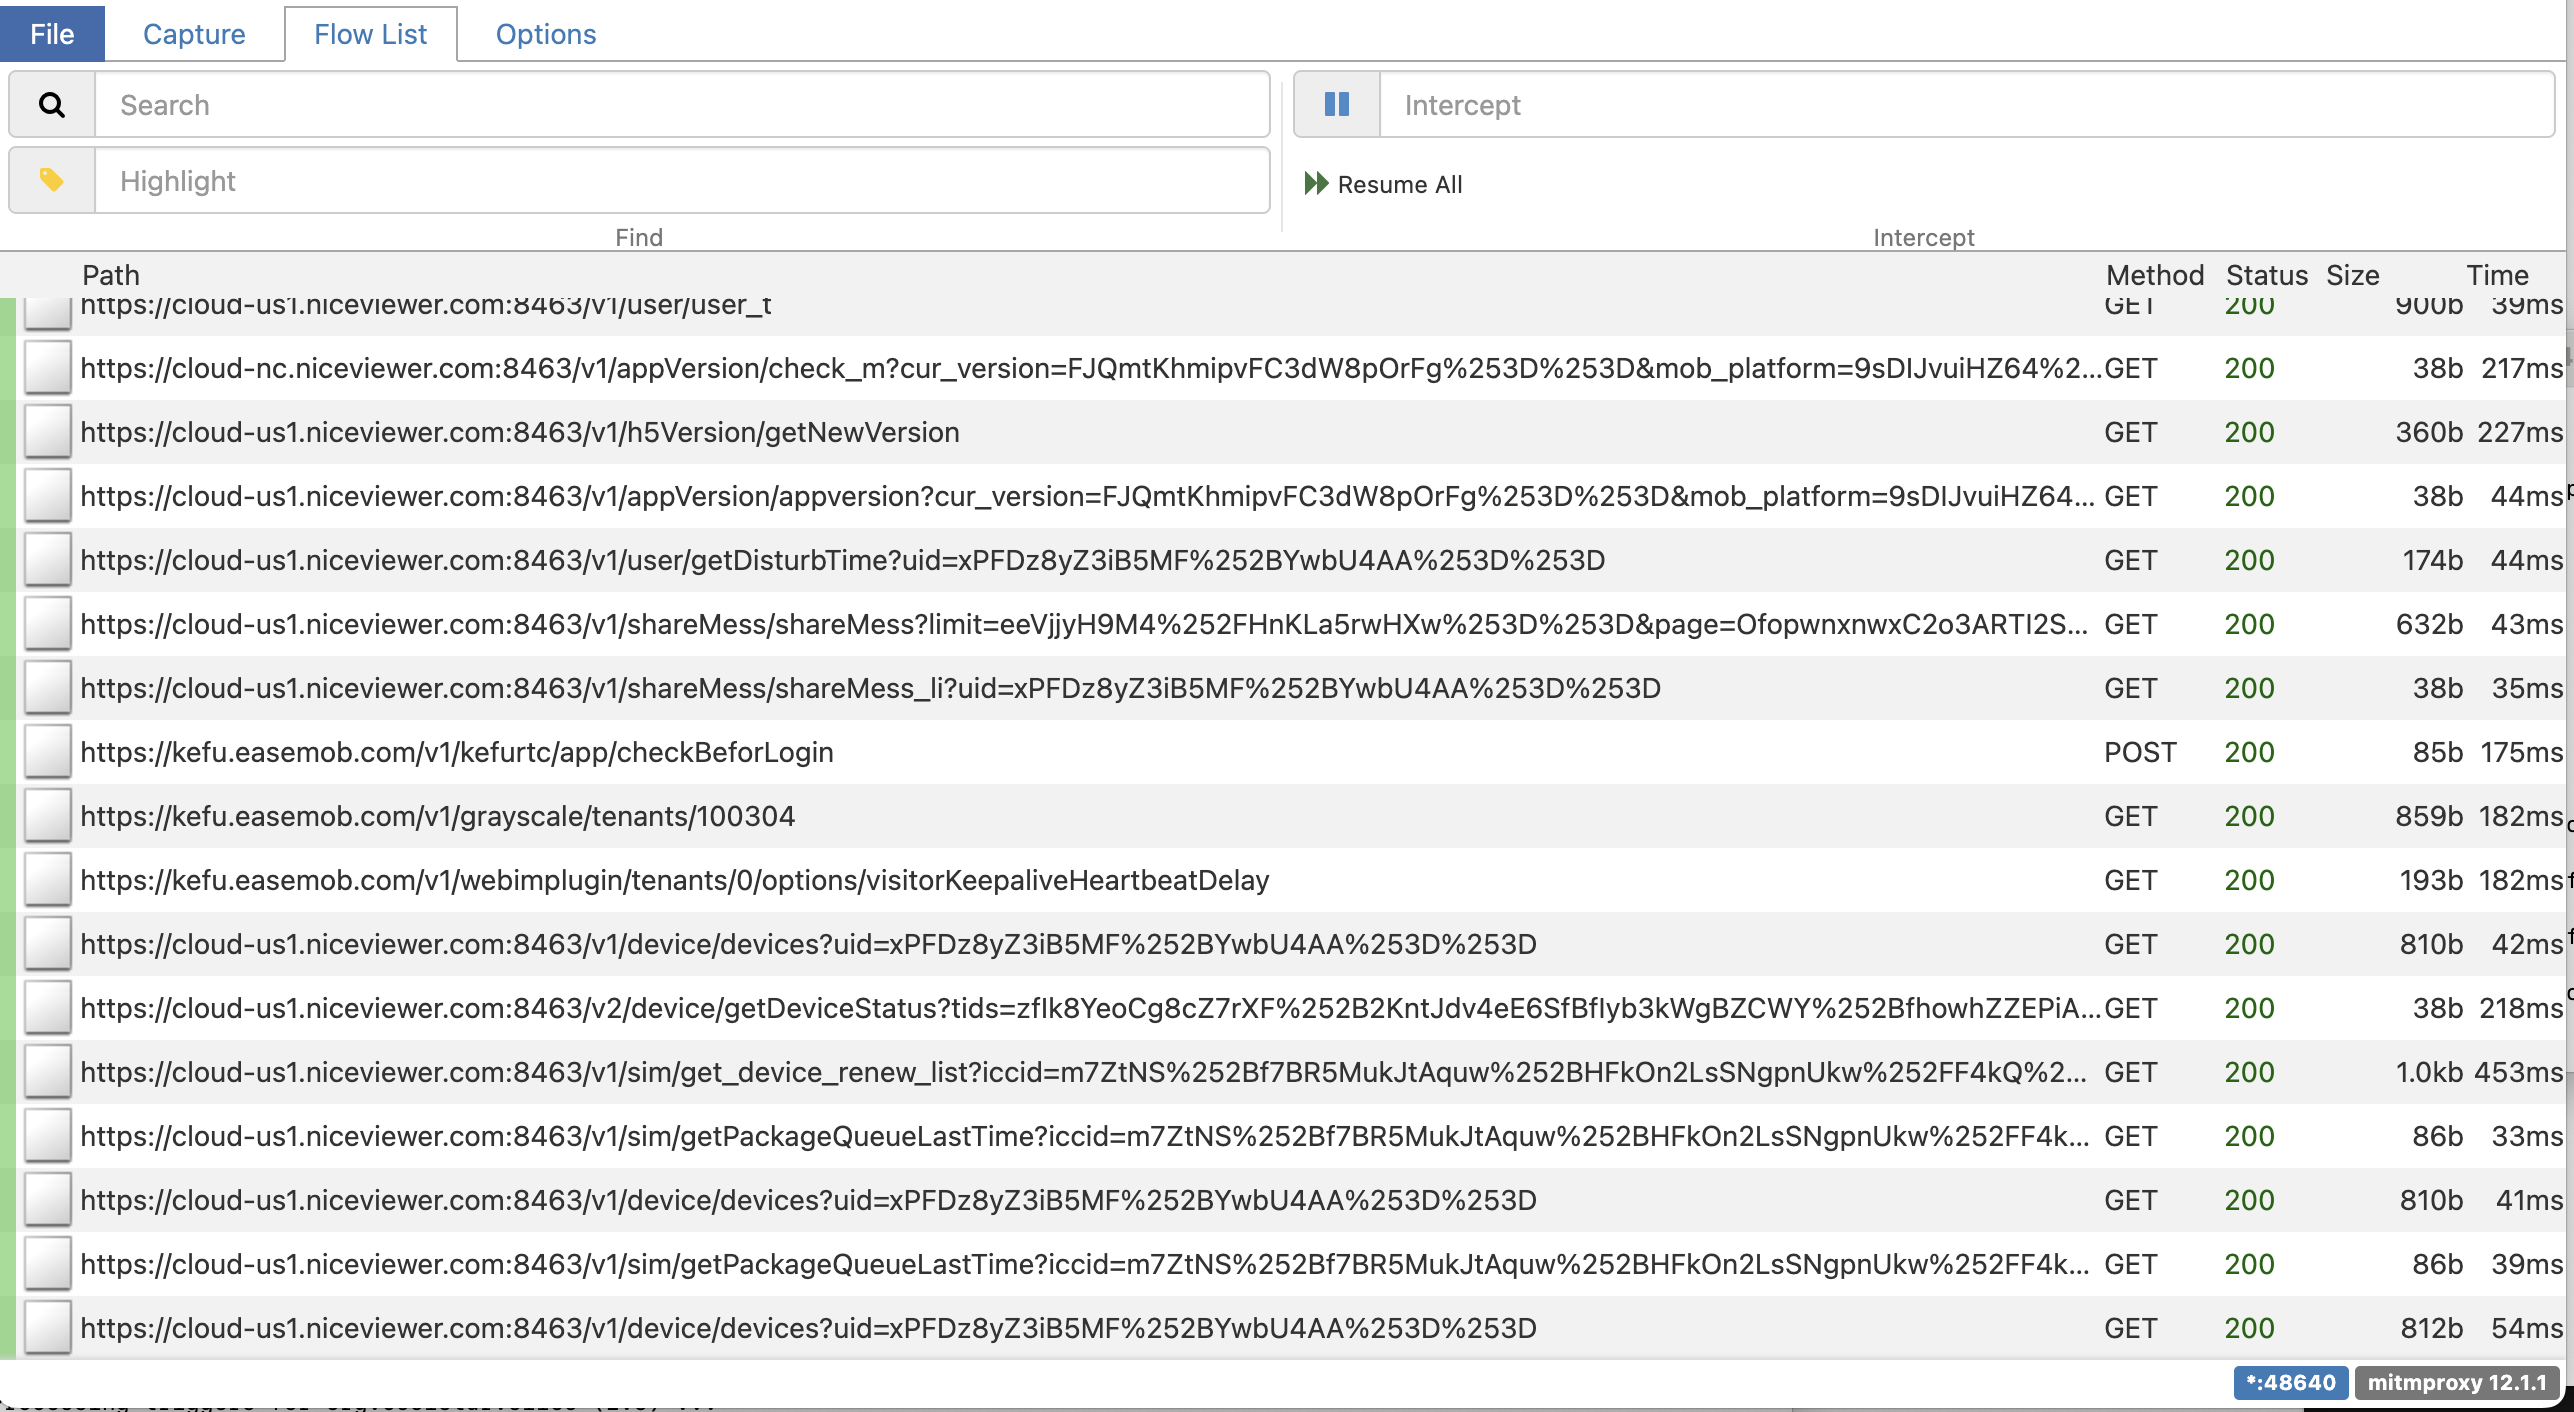
Furthermore the request responses were all encrypted. If I wanted to dig any further it was clear that I'd have to start poking around in the app.
Dump the app
Apple apps are encrypted with FairPlay by default, but we can dump the decrypted app that's loaded into memory from a jailbroken iPhone with bfdecrypt (see my post dumping the Fitness SF app to reverse-engineer the QR code for more details). All we need to do is install bfdecryptor from https://alias20.gitlab.io/apt/ and enable it for the NiView app. Then when we open the app it will automatically download it as decrypted-app.ipa. We can run this command to list all downloaded bundles...
find /private/var/mobile/Containers/Data/Application -name decrypted-app.ipa -type f | while read f; do \
  dir=$(dirname "$f"); \
  plist="$dir/../.com.apple.mobile_container_manager.metadata.plist"; \
  bundle=$(grep -ao 'com\.[a-zA-Z0-9._]*' "$plist" 2>/dev/null | head -1); \
  [ -n "$bundle" ] && echo "$bundle: $f"; \
done
...with com.niceviewer.nview as the one that corresponds to NiView.
12
Always more posts in progress, Bay Wheels post Coming Soon™.
com.fitnesssf.ios: ./9F262F33-1140-4FCB-B76E-6DB1594D2E8F/Documents/decrypted-app.ipa
com.motivateco.gobike: ./E9B21C12-C082-4315-B630-271290AC2902/Documents/decrypted-app.ipa
com.niceviewer.nview: ./CD61972E-8C82-4F94-99D9-4C701C6638D9/Documents/decrypted-app.ipa
After copying this locally with scp mobile@192.168.0.247:/private/var/mobile/Containers/Data/Application/CD61972E-8C82-4F94-99D9-4C701C6638D9/Documents/decrypted-app.ipa
13
This is a relatively small file, a 48 MB .ipa. For comparison, Instagram is currently listed at 535 MB.
and renaming to niview.zip we can extract and examine the internal files.
Hopper and LLDB
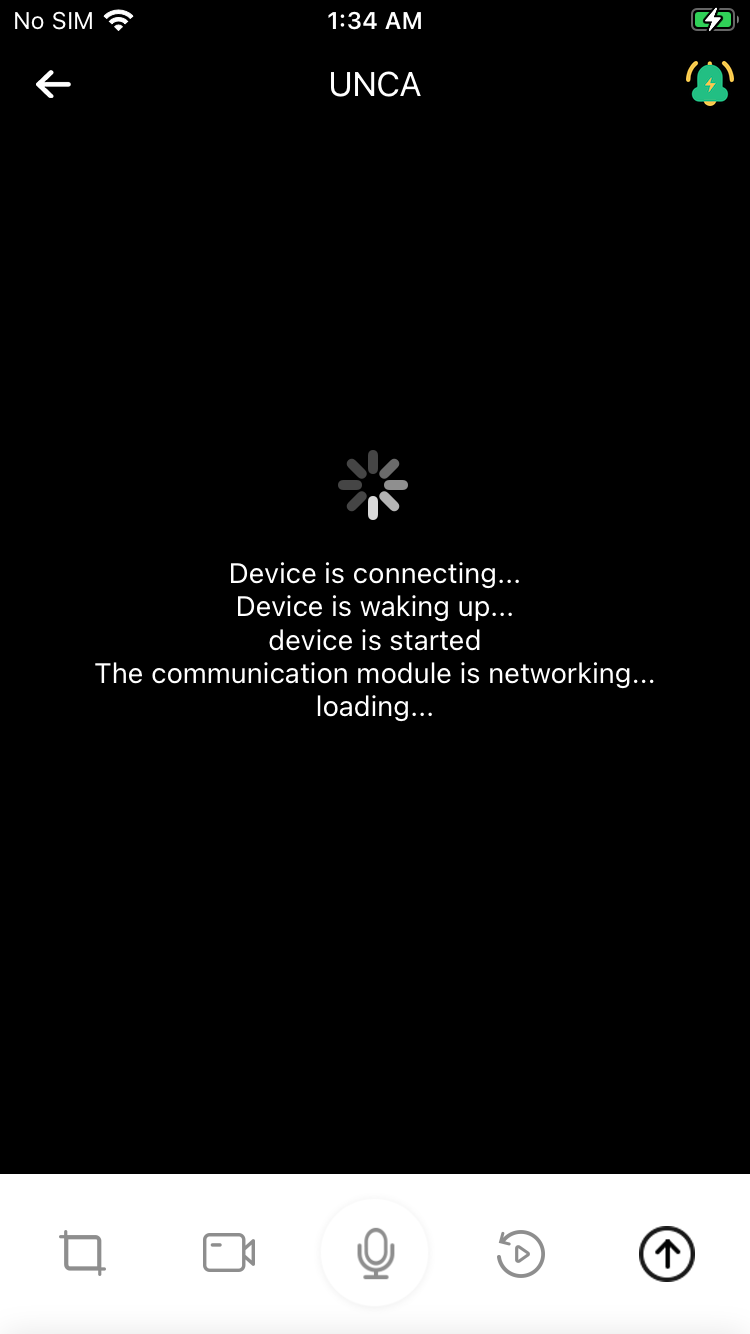
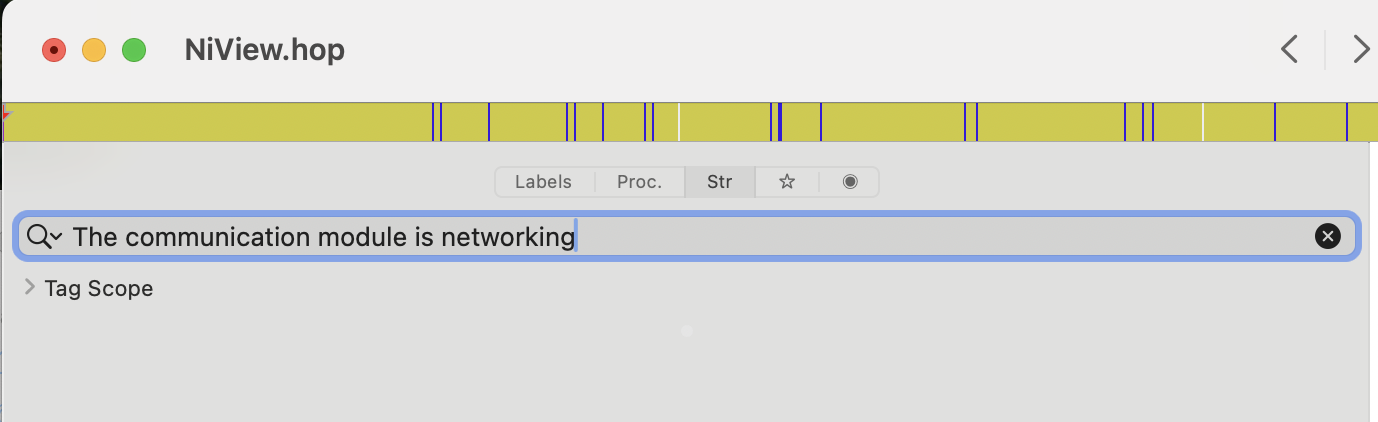
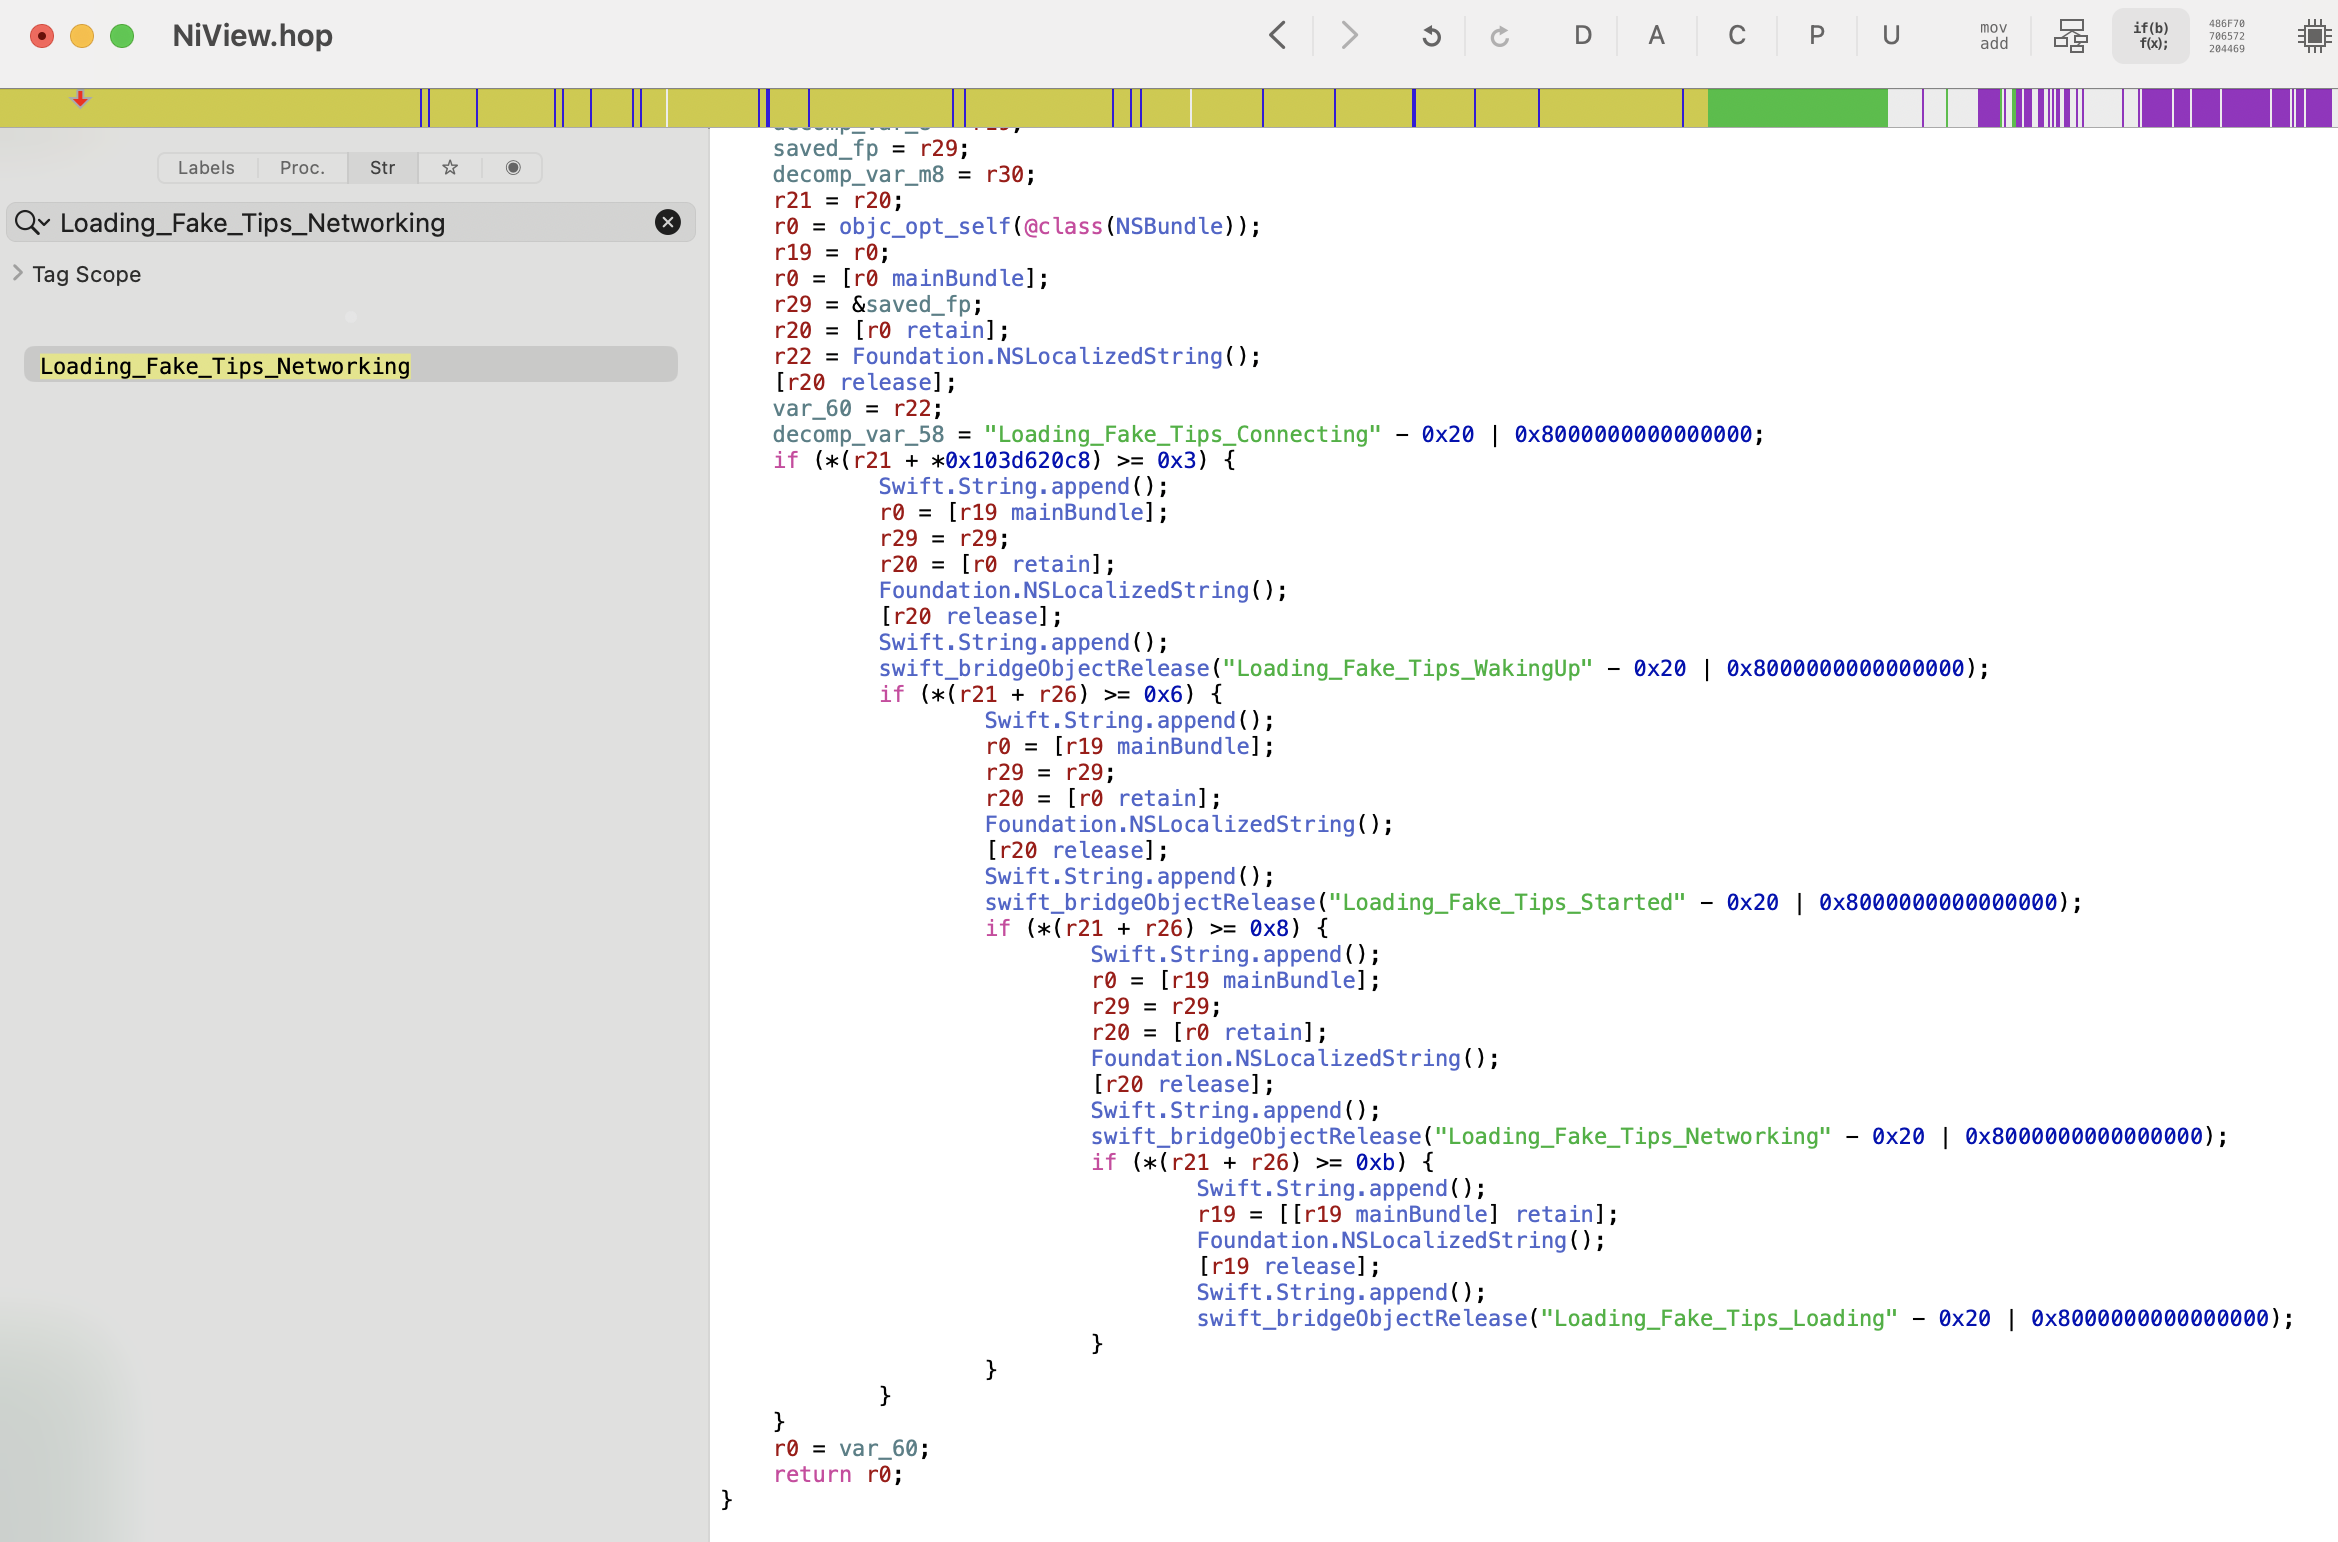
The main way that I do this is with a disassembler (I use Hopper) and lldb. When you click into a feed it shows messages like "Device is connecting..." and "The communication module is networking...". Despite the grammatical errors I figured this was an okay starting point to check if the class was initializing a server connection.
Normally you can find this by searching the .app Strings section in Hopper, but it wasn't turning anything up, so I instead checked the localization in en.lproj/Localizable.plist,
14
rg --binary "The communication module is networking" also helps to narrow down the location.
which helpfully mapped this to... Loading_Fake_Tips_Networking.

A quick check with Hopper shows that it just appends one of these Loading_Fake_Tips every few seconds to the UI as a placeholder while it does the actual action in the background.
Let's try a different approach with lldb! With ps aux I can identify the PID of the running app as 508:
> ps aux | grep Bundle/Application
mobile             632   2.1  0.2 407918656   3120 s000  R+    9:24AM   0:00.03 grep Bundle/Application
mobile             599   0.0  0.6 407955328  11728   ??  Ss    9:23AM   0:00.34 /private/var/containers/Bundle/Application/390E30D0-E390-4DBC-BA3B-46666CA028E4/SequoiaTranslator.app/PlugIns/CacheDeleteExtension.appex/CacheDeleteExtension -AppleLanguages ("en-US")
mobile             569   0.0  0.0 408064400    464   ??  Ss    9:23AM   0:00.00 /var/containers/Bundle/Application/60422DE1-AF5C-457A-9114-D12247C5C353/Spotify.app/Spotify
mobile             508   0.0  2.0 408613936  42000   ??  Ss    9:22AM   0:02.39 /var/containers/Bundle/Application/65F285D6-1496-42D2-8525-09E971EF236E/NiView.app/NiView
Then on my iPhone, I can use debugserver-16 "0.0.0.0:1234" --attach=508 to set up an LLDB server that I can attach to.
15
You can see more details in this previous post.
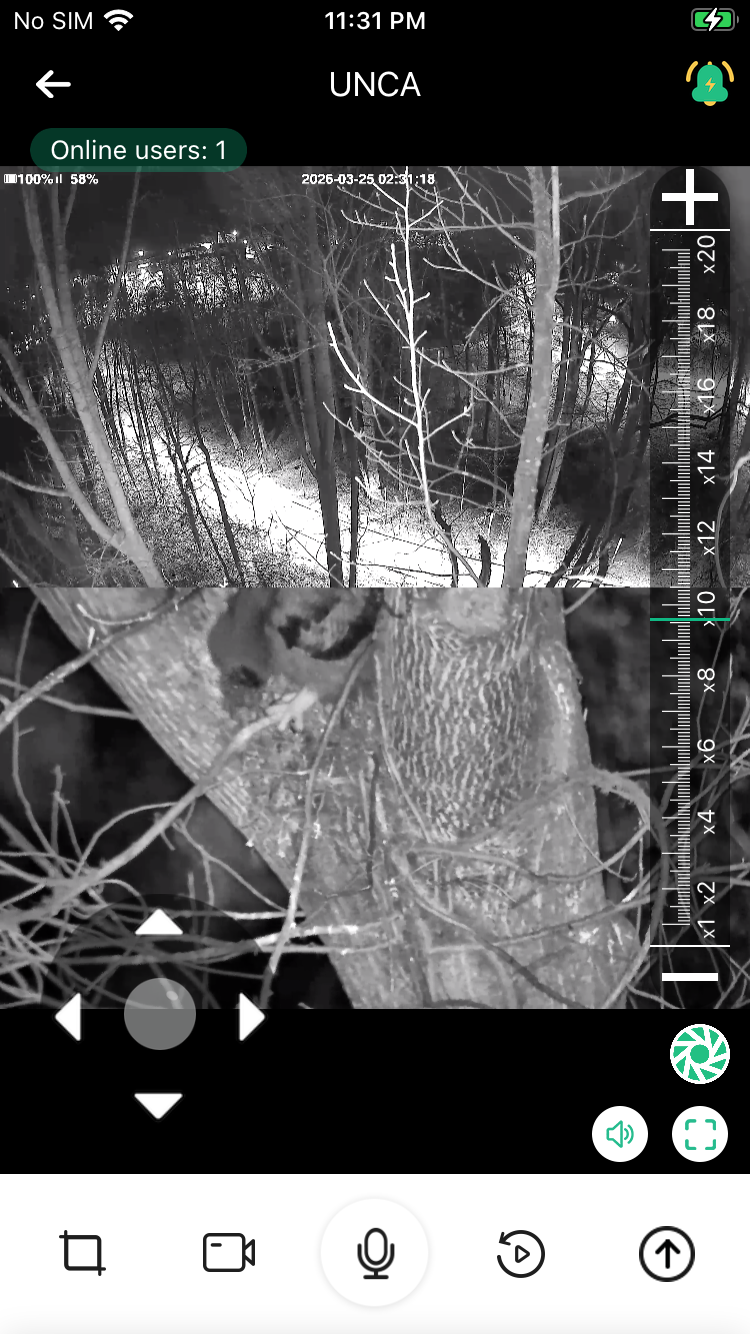
From another Terminal window on my laptop I can run lldb and process connect connect://192.168.0.247:1234 to attach to that running instance. Navigating to the camera feeds and running process interrupt and po [[UIWindow keyWindow] recursiveDescription] give a pretty good sense of the UI layout as well. In particular NVLivePlayerView and IVVideoRender feel like the best candidates.
<UIWindow: 0x125d8e4a0; frame = (0 0; 375 667); autoresize = W+H; gestureRecognizers = <NSArray: 0x282535ec0>; layer = <UIWindowLayer: 0x282535ce0>>
| <UITransitionView: 0x125db2730; frame = (0 0; 375 667); autoresize = W+H; layer = <CALayer: 0x282b1d340>>
| | <UIDropShadowView: 0x125d933e0; frame = (0 0; 375 667); autoresize = W+H; layer = <CALayer: 0x282b1d600>>
| | | <UILayoutContainerView: 0x125d8f710; frame = (0 0; 375 667); autoresize = W+H; layer = <CALayer: 0x282b0f9c0>>
| | | | <UITransitionView: 0x125d8f510; frame = (0 0; 375 667); clipsToBounds = YES; autoresize = W+H; layer = <CALayer: 0x282b707e0>>
| | | | | <UIViewControllerWrapperView: 0x125db16b0; frame = (0 0; 375 667); autoresize = W+H; layer = <CALayer: 0x282b1c180>>
| | | | | | <UILayoutContainerView: 0x125da1570; frame = (0 0; 375 667); clipsToBounds = YES; autoresize = W+H; gestureRecognizers = <NSArray: 0x2825c5230>; layer = <CALayer: 0x282b077e0>>
| | | | | | | <UINavigationTransitionView: 0x125da23f0; frame = (0 0; 375 667); clipsToBounds = YES; autoresize = W+H; layer = <CALayer: 0x282b078a0>>
| | | | | | | | <UIViewControllerWrapperView: 0x125f9d9f0; frame = (0 0; 375 667); autoresize = W+H; layer = <CALayer: 0x282b29100>>
| | | | | | | | | <UIView: 0x125fe1820; frame = (0 0; 375 667); autoresize = W+H; layer = <CALayer: 0x282be05c0>>
| | | | | | | | | | <UIView: 0x125faad60; frame = (0 64; 375 50); layer = <CALayer: 0x282be2640>>
| | | | | | | | | | | <CALayer: 0x282be28c0> (layer)
| | | | | | | | | | <NiView.NVLivePlayerView: 0x126041600; frame = (0 0; 375 587); layer = <CALayer: 0x282be29a0>>
| | | | | | | | | | | <UIScrollView: 0x1260c3e00; frame = (0 0; 375 587); clipsToBounds = YES; autoresize = W+H; gestureRecognizers = <NSArray: 0x2825f0b40>; layer = <CALayer: 0x282be3c40>; contentOffset: {0, 0}; contentSize: {375, 421.875}; adjustedContentInset: {0, 0, 0, 0}>
| | | | | | | | | | | | <UIView: 0x125fb5d00; frame = (0 82.5625; 375 421.875); layer = <CALayer: 0x282be3c20>>
| | | | | | | | | | | | | <IVVideoRender: 0x12730e3f0; frame = (0 0; 375 421.875); gestureRecognizers = <NSArray: 0x282584540>; layer = <CAEAGLLayer: 0x2825845a0>>
| | | | | | | | | | | <UIImageView: 0x125fe7a90; frame = (20 100; 80 90); hidden = YES; layer = <CALayer: 0x282b55c20>>
| | | | | | | | | | | <UIButton: 0x125f7aaa0; frame = (15 64; 108.632 22); clipsToBounds = YES; opaque = NO; userInteractionEnabled = NO; layer = <CALayer: 0x282be2a20>>
| | | | | | | | | | | | <UIButtonLabel: 0x125f81bd0; frame = (10 3; 89 16); text = 'Online users: 1'; opaque = NO; userInteractionEnabled = NO; layer = <_UILabelLayer: 0x2808088c0>>
| | | | | | | | | | | <UIButton: 0x125fb4bf0; frame = (243.815 64; 116.185 40); clipsToBounds = YES; hidden = YES; opaque = NO; layer = <CALayer: 0x282be2940>>
| | | | | | | | | | | | <UIImageView: 0x125ffdfe0; frame = (7.5 8; 24 24); clipsToBounds = YES; opaque = NO; userInteractionEnabled = NO; layer = <CALayer: 0x282bda460>>
| | | | | | | | | | | | <UIButtonLabel: 0x125f99cd0; frame = (32 12; 77 16); text = 'Manual Alert'; opaque = NO; userInteractionEnabled = NO; layer = <_UILabelLayer: 0x28080b1b0>>
| | | | | | | | | | | <UIStackView: 0x125fbd7f0; frame = (295 552; 70 30); layer = <CALayer: 0x282be3180>>
| | | | | | | | | | | | <UIButton: 0x125f82870; frame = (-30 0; 30 30); hidden = YES; opaque = NO; tag = 4; layer = <CALayer: 0x282be2c20>>
| | | | | | | | | | | | | <UIImageView: 0x125ffe1c0; frame = (1 1; 28 28); clipsToBounds = YES; opaque = NO; userInteractionEnabled = NO; layer = <CALayer: 0x282bd84a0>>
| | | | | | | | | | | | <UIButton: 0x125fab9b0; frame = (0 0; 30 30); opaque = NO; tag = 2; layer = <CALayer: 0x282be2e40>>
| | | | | | | | | | | | | <UIImageView: 0x125ffe6a0; frame = (1 1; 28 28); clipsToBounds = YES; opaque = NO; userInteractionEnabled = NO; layer = <CALayer: 0x282bd8260>>
| | | | | | | | | | | | <UIButton: 0x125fca250; frame = (40 0; 30 30); opaque = NO; tag = 1; layer = <CALayer: 0x282be3020>>
| | | | | | | | | | | | | <UIImageView: 0x125ffe880; frame = (1 1; 28 28); clipsToBounds = YES; opaque = NO; userInteractionEnabled = NO; layer = <CALayer: 0x282bd8140>>
| | | | | | | | | | | <NiView.OpticalZoomViewWrapper: 0x125ff6ce0; frame = (325 82.5625; 40 459.438); layer = <CALayer: 0x282be3b60>>
| | | | | | | | | | | | ...
| | | | | | | | | | | <UIView: 0x125fb1c60; frame = (210 64; 160 47); clipsToBounds = YES; hidden = YES; layer = <CALayer: 0x282bd43e0>>
| | | | | | | | | | | | ...
| | | | | | | | | | | <NiView.NVJoystickView: 0x12770c730; frame = (20 447; 120 120); autoresize = TM; gestureRecognizers = <NSArray: 0x2825f0cc0>; layer = <CALayer: 0x282b1aa60>>
| | | | | | | | | | | | ...
| | | | | | | | | | <UIView: 0x125ff3150; frame = (0 587; 375 80); layer = <CALayer: 0x282bd6720>>
| | | | | | | | | | | ...
| | | | | | | | | | <NiView.NVNaviBar: 0x125fcb2f0; frame = (0 0; 375 64); layer = <CALayer: 0x282be1240>>
| | | | | | | | | | | ...
| | | | <UITabBar: 0x125d8f8a0; frame = (0 618; 375 49); hidden = YES; autoresize = W+TM; gestureRecognizers = <NSArray: 0x282536af0>; layer = <CALayer: 0x282b0f900>>
| | | | | ...
| | | | <NiView.MainTabBarView: 0x125da8860; frame = (0 667; 375 49); layer = <CALayer: 0x282b00020>>
| | | | | ...
Checking IVVideoRender in Hopper yields a -[IVVideoRender startRenderingWithAVHeader:channel:dataSource:] method, but all it's getting is rendering dimensions and a pixel format. It also directly calls into an IoTVideo SDK, which doesn't give me a ton of confidence that reverse engineering the connection will be trivial.
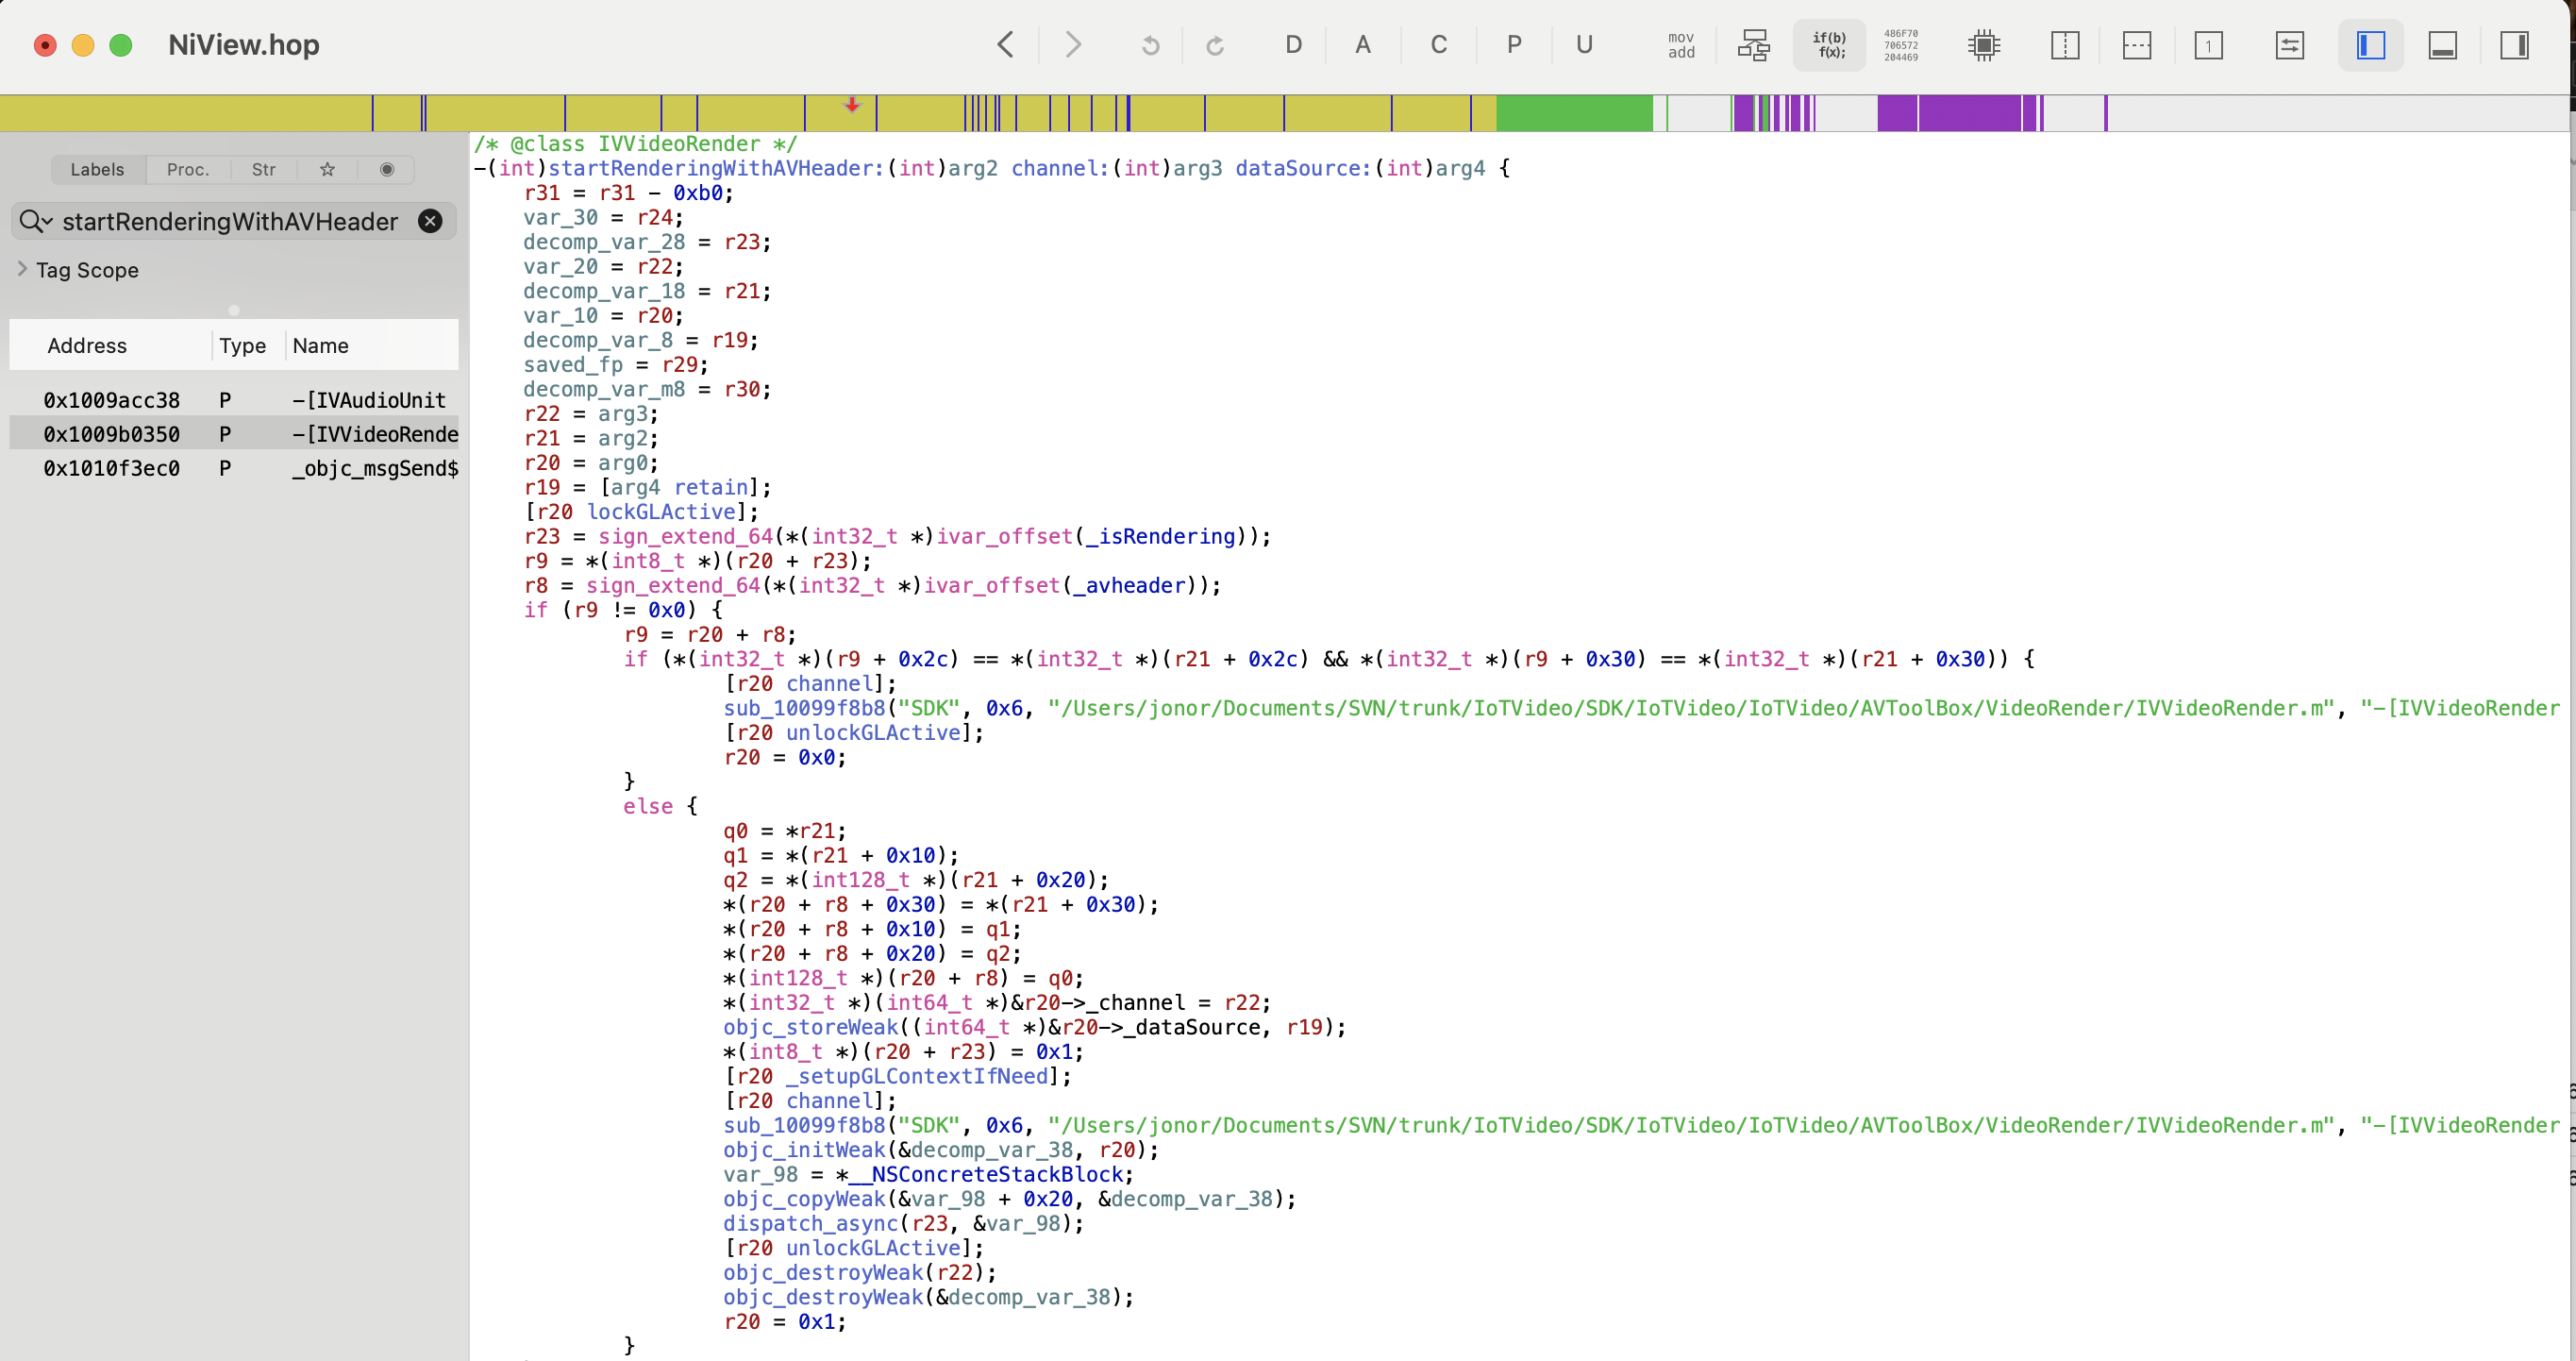
Digging into the IoTVideo class and IVConnection reveals that it makes a request to IOT_HOST_P2P as part of [IoTVideo _registerWithAccessId:accessToken:]. This string points to list.iotvideo.tencentcs.com, which it's using for setting up a P2P relay through Tencent's servers. P2P stands for Peer-to-Peer, which implies that if I was physically in Asheville near the camera I could connect directly to it. Connecting from San Francisco on the other hand requires a little more help from Tencent.
We can corroborate this with tcpdump -i en0 -w /tmp/capture.pcap on the iPhone while initializing the connection, and see the handshakes for the encrypted P2P video data.
16
Either in Wireshark, or through an LLM analyzing it with tshark, given that my Wireshark know-how is tenuous at best.
Reverse engineering this feels doable with enough effort (at the end of the day it's all just code) but I wasn't finding any strong leads of others doing this from searching these classes and URLs online and in GitHub. So let's cheat.
Building an iOS tweak to rebroadcast the feed
True, we don't have a clear path to how IVVideoRender gets frame data. But we know it gets the frame data, and that it's rendering the frames through _renderVideoFrame. Because my iPhone is jailbroken we can write our own code in a tweak. We can then inject that code into the NiView app: when it renders a frame we grab the data, convert it from the YUV data format it's in to a JPG,
17
This is a bastardization of terms. YUV is a color representation like RGB, but where RGB expresses each color as a combination of Red, Blue, and Green, YUV represents them with a brightness value Y and two color-difference channels, U and V. This was an artifact of going from black and white TVs to color by tacking on more signal, but like all standards nothing dies.JPG, on the other hand, is an image file format, not a color representation. It coincidentally uses something similar to YUV internally (YCbCr) to be able to compress color differently than brightness (human vision is great at brightness and crap at color) but because I'm creating images through CGImage it's YUV -> RGB -> YCbCr in a JPG.
and stream it out to a URL that we can then read and rebroadcast from. I've developed a bunch of tweaks in the past: ShiftCycle, Mercury,
18
This was my personal favorite. I'd honestly still jailbreak to be able to have access to it.
OnceMore (which is thankfully now in stock iOS) and Grayscale Lock (which I now do with Shortcuts), among others — but I haven't built one since college. I used to do builds directly on my iPhone, but now we're doing it on my Mac, and scp-ing it over once it's done. So I have to get to rediscover how to do this!
As a first step I installed Theos with the following command. Theos is a Make-based build system that used to be the framework du jour for tweak development (not sure if it still is, but I'm certainly not going to learn a new one now).
bash -c "$(curl -fsSL https://raw.githubusercontent.com/theos/theos/master/bin/install-theos)"My jailbroken iPhone is running iOS 15.8.4. We need to download the relevant Theos SDK, in this case taking iPhoneOS15.6.sdk.tar.xz from https://github.com/theos/sdks/releases/tag/master-146e41f and copying the unzipped folder into ~/theos/sdks. Now we need to actually write the tweak.
19
Truly applicable in this case.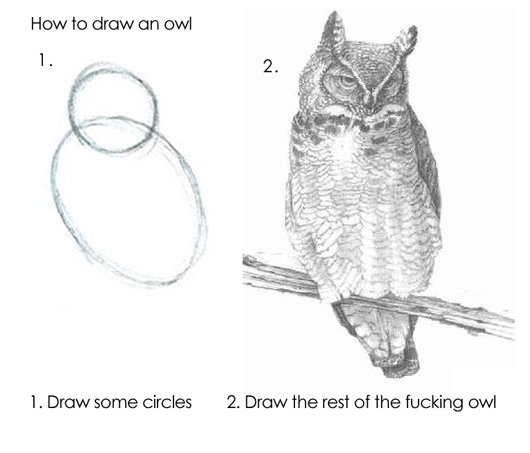
Luckily it's pretty straightforward. There's an OwlCam.plist file that says which app we want to inject into:
{ Filter = { Bundles = ( "com.niceviewer.nview" ); }; }There's a Makefile which includes what we're building for (a rootless jailbreak, now that we're in the iOS 15 era), all of the video/graphics frameworks that we're importing, and the third and main file, Tweak.xm, which has the code we're injecting.
ARCHS = arm64
THEOS_PACKAGE_SCHEME = rootless
TARGET = iphone:clang:16.5:15.0
...
OwlCam_FILES = Tweak.xm
OwlCam_FRAMEWORKS = UIKit CoreGraphics CoreVideo ImageIO Foundation
You can check out the full code for the tweak here or the rest of the repo on my GitHub but here's what it's doing at a high level. First it has a constructor (%ctor) that sets up a server thread and a writer thread. The server thread handles setting up a localhost server on port 8080. It listens for incoming requests to /stream from either localhost or my EC2 server, and if so sends an initial MJPEG header over the connection:
sendStr(newSock,
      @"HTTP/1.1 200 OK\r\n"
      @"Content-Type: multipart/x-mixed-replace; boundary=--owlframe\r\n"
      @"Cache-Control: no-cache\r\n"
      @"Connection: keep-alive\r\n"
      @"\r\n");
The writer thread takes whatever the latest saved JPEG is, and then if there's a connected client sends it over:
NSString *partHeader = [NSString stringWithFormat:
      @"--owlframe\r\n"
      @"Content-Type: image/jpeg\r\n"
      @"Content-Length: %lu\r\n"
      @"\r\n", (unsigned long)jpeg.length];

  BOOL ok = sendStr(sock, partHeader);
  if (ok) ok = sendAll(sock, jpeg.bytes, jpeg.length);
  if (ok) ok = sendStr(sock, @"\r\n");
The main bit though is the IVVideoRender hook. It waits for _renderVideoFrame, takes the frame, chops it up and converts it, and saves it for the writer to push to whichever client is connected and listening:
%hook IVVideoRender

// Hook into the original function
- (void)_renderVideoFrame:(void *)frame {
  %orig;

  // If there's no one connected to the server, fail out
  // ...

  // If the last frame was too recent, skip out to rendering too many updates
  // (targeting 4fps)
  // ...

  // Read frame
  uint8_t *yPlane = *(uint8_t **)((uint8_t *)frame + FRAME_Y_OFFSET);
  uint8_t *uPlane = *(uint8_t **)((uint8_t *)frame + FRAME_U_OFFSET);
  uint8_t *vPlane = *(uint8_t **)((uint8_t *)frame + FRAME_V_OFFSET);
  int width  = *(int *)((uint8_t *)frame + FRAME_W_OFFSET); // 2560
  int height = *(int *)((uint8_t *)frame + FRAME_H_OFFSET); // 2880

  // Composite: the first TOP_CROP pixels from first image + full bottom image
  // (starts at row 1440)
  int srcStart2 = height / 2;
  int srcRows2 = height - srcStart2;
  int totalSrcRows = TOP_CROP + srcRows2;

  int outW = width / 2;
  int outH = totalSrcRows / 2;

  // Crop and downsample down by 2, trying not to leak memory
  // ...

  // Add it to the latest JPEG variable to be output by the writer
  @autoreleasepool {
    NSData *jpeg = convertYUVToJPEG(g_sY, g_sU, g_sV, dstW, dstH, g_rgbBuf, JPEG_QUALITY);
      if (jpeg) {
        pthread_mutex_lock(&g_frameMutex);
        g_latestJPEG = jpeg;
        pthread_cond_signal(&g_frameCond);
        pthread_mutex_unlock(&g_frameMutex);
      }
   }
}
Now that that's all written I can build the package, copy it over to the iPhone, and install it (this logic is also expressed in the Makefile for ease of repetition during development).
# Build the package
make clean
make package
# Copy it over
scp packages/*.deb mobile@192.168.0.247:~
# <ssh into the iPhone>
# Install the .deb
sudo dpkg -i com.hackingdartmouth.owlcam_0.1.0-1+debug_iphoneos-arm64.deb
# Restart SpringBoard (potentially not needed)
killall -9 SpringBoard
Glue
Like all good software projects, the rest of it is just a bunch of glue. I wrote
20
The royal 'I' now includes Claude for glue work. I refuse to use it for writing, I refuse to use it for hobby projects where the programming is the point, but it's so good for one-off scripts I'll never touch again.
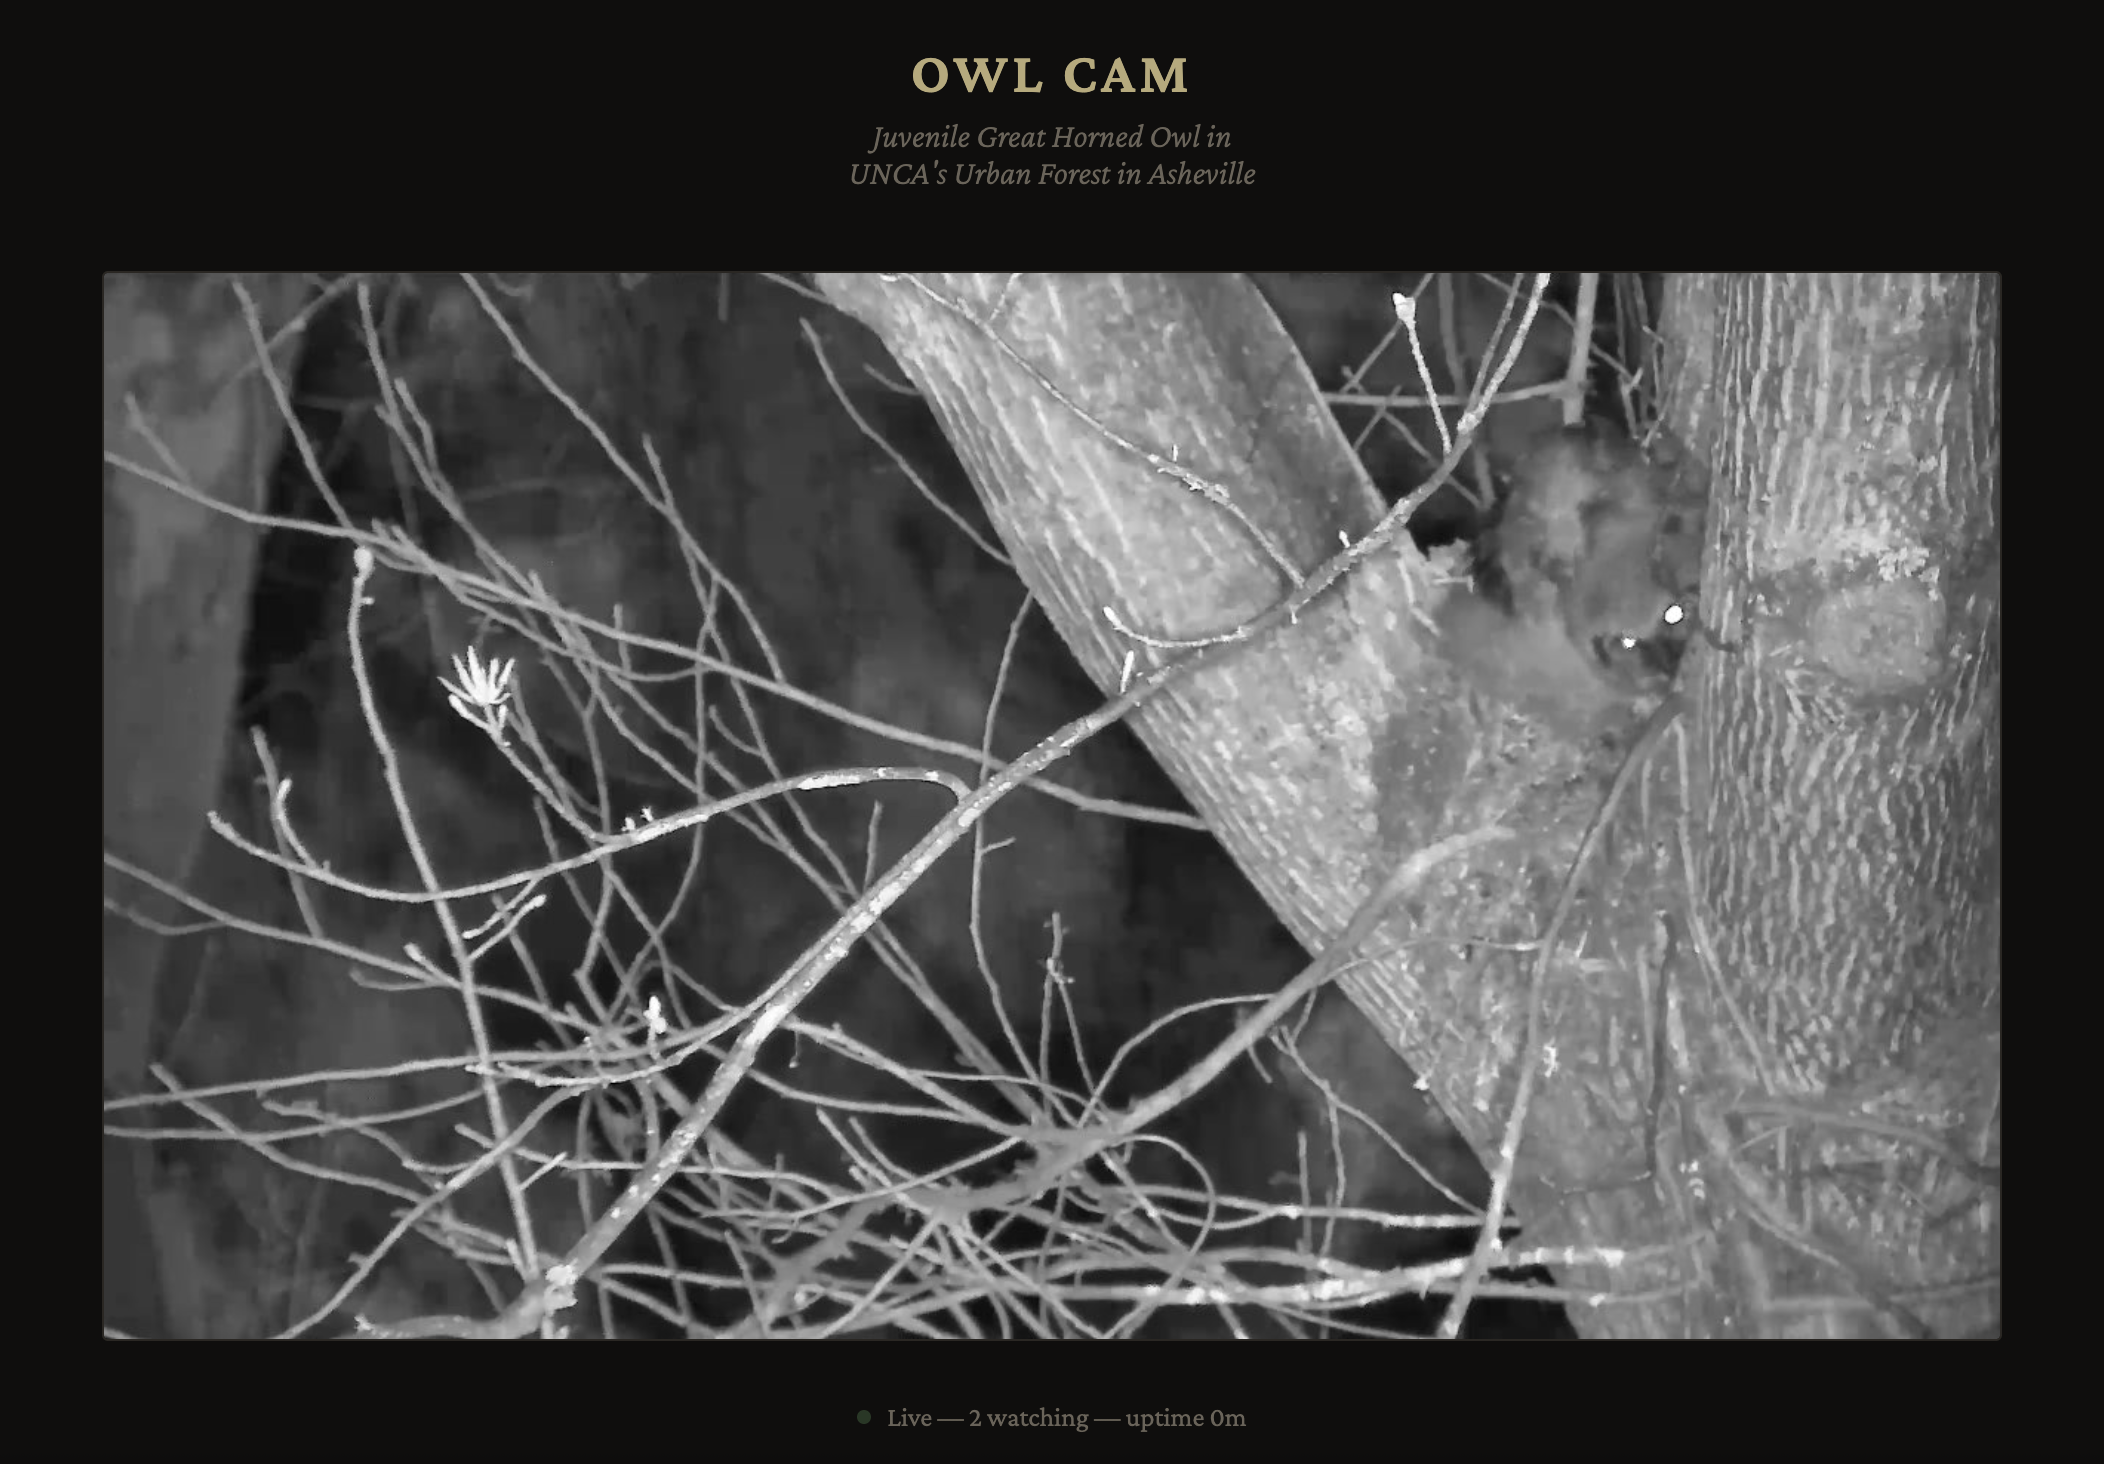
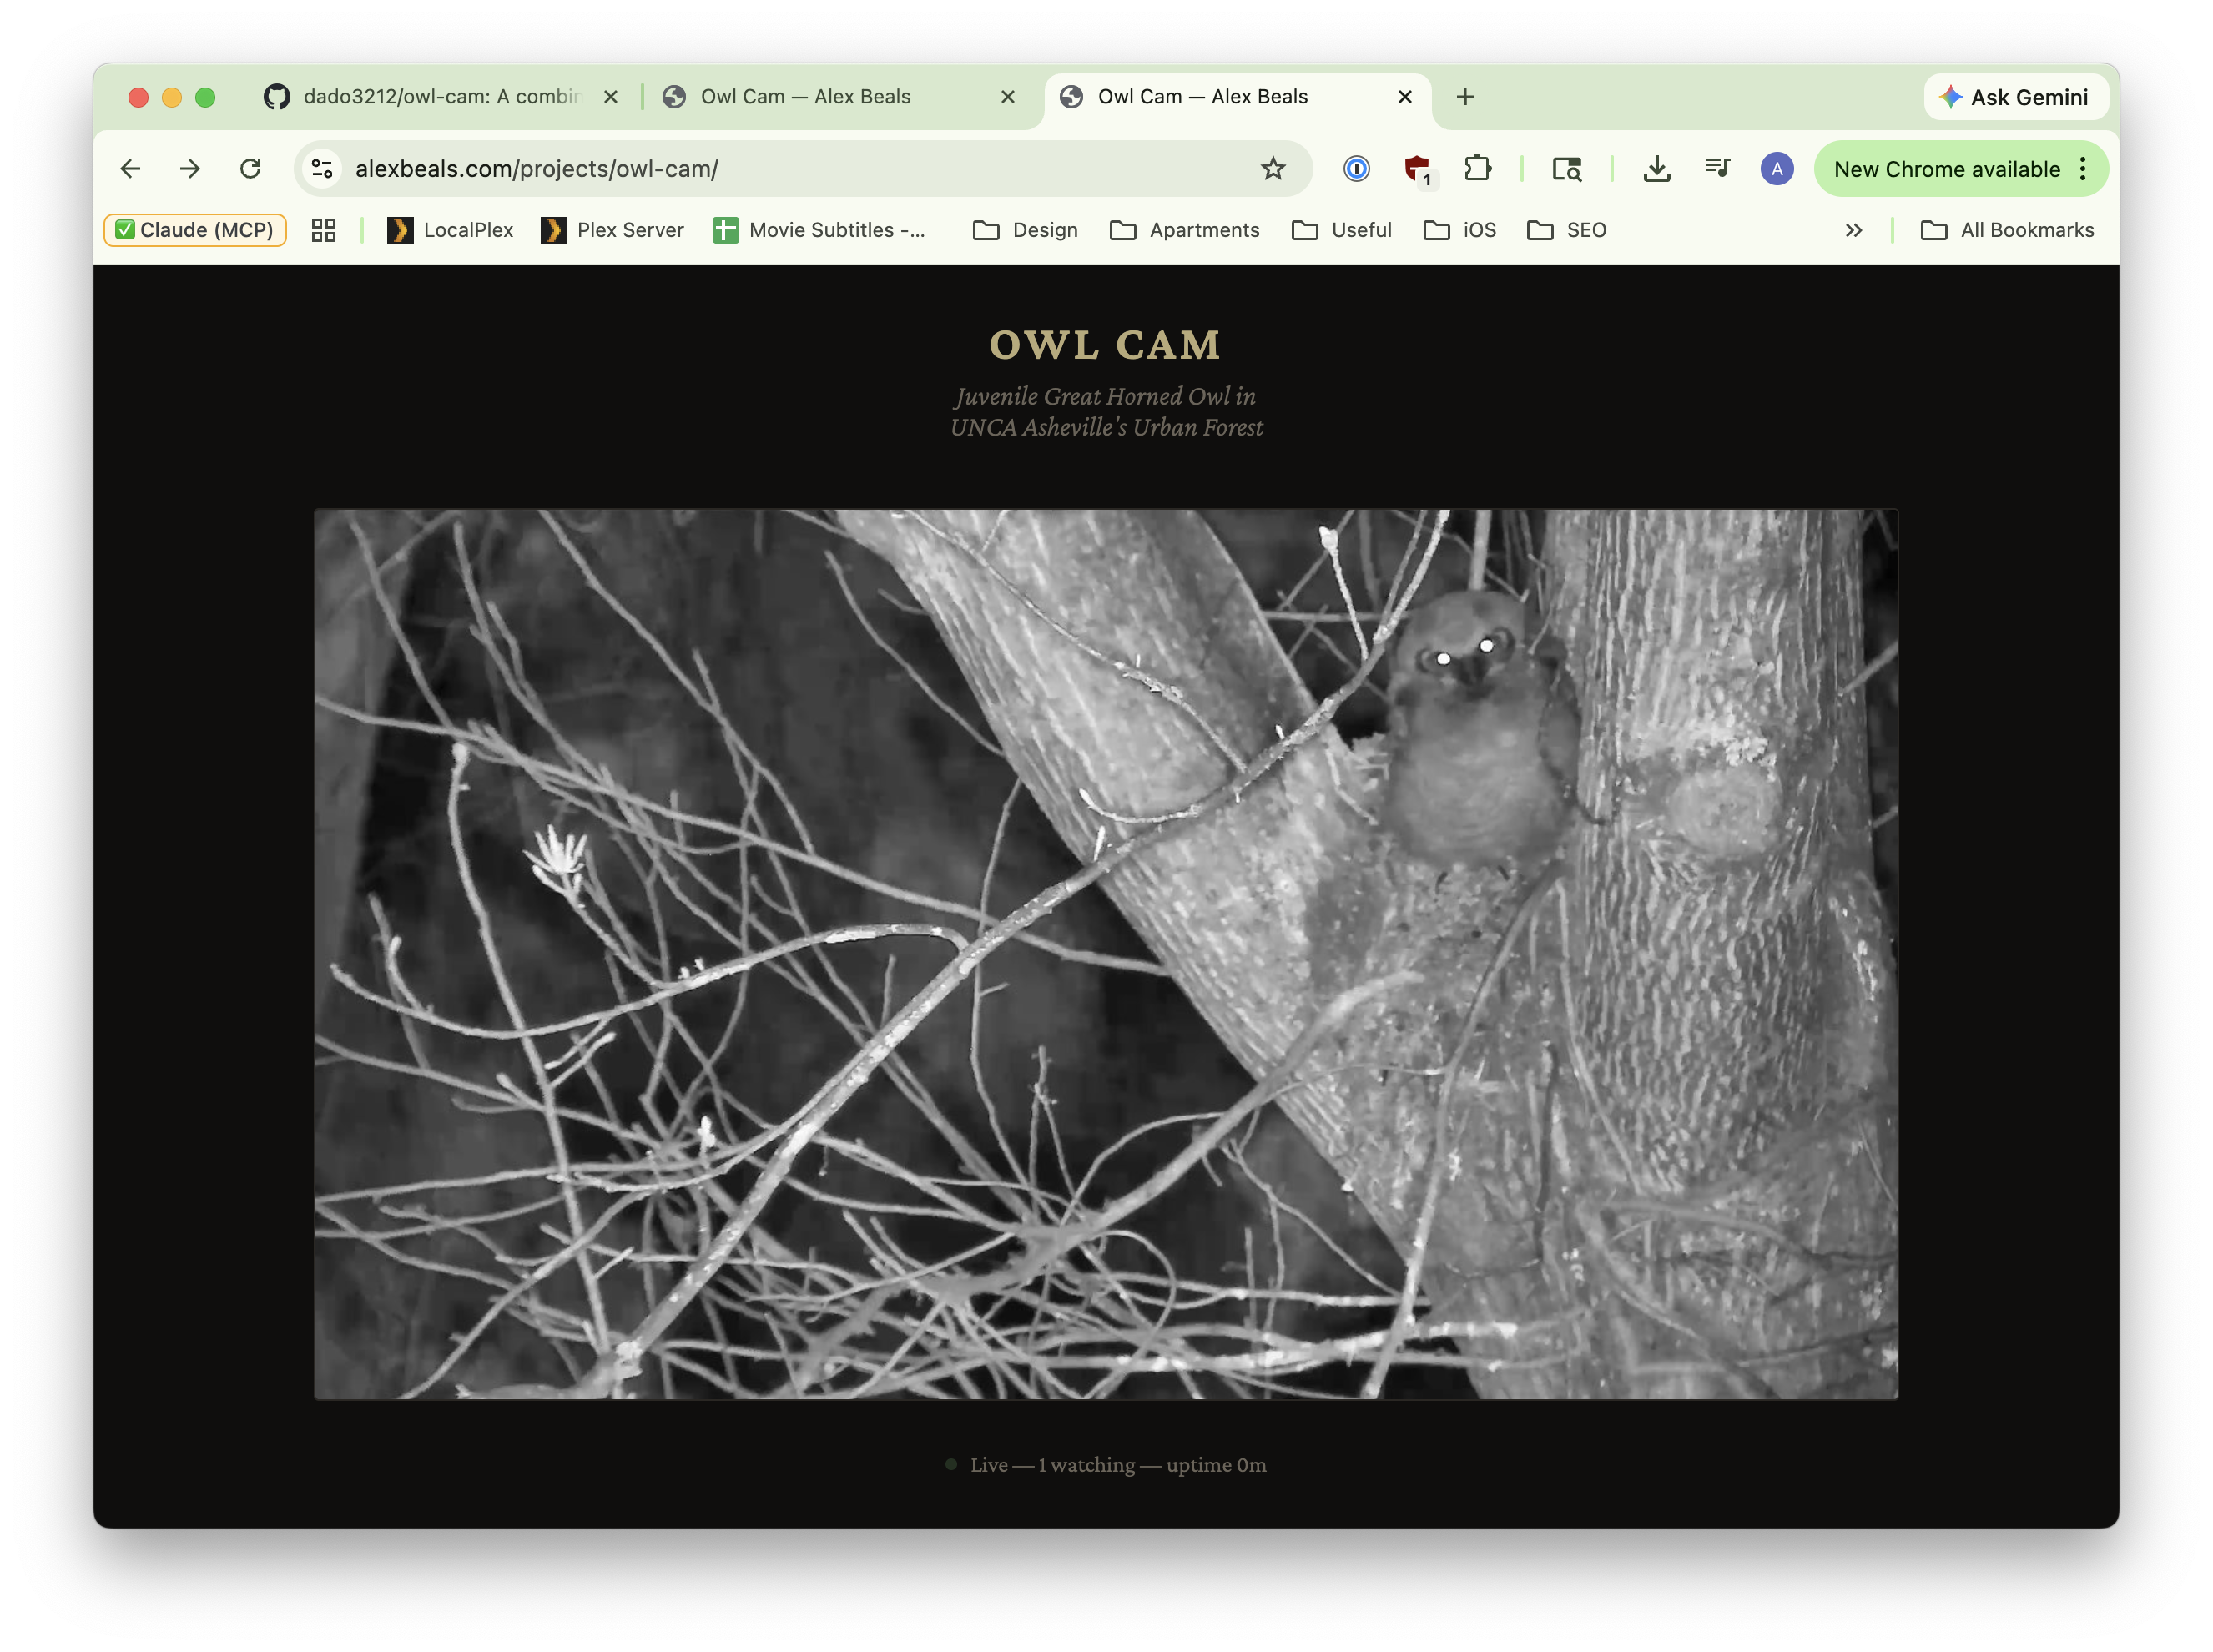
a quick Python script that connects, caches, and rebroadcasts to whoever hits the Python server, and then a quick PHP wrapper around that at https://alexbeals.com/projects/owl-cam/. This saves my iPhone from getting pummeled, allows for an image path that can be directly displayed in any <img> tag, and finally provides a nice landing experience for people who want to see the owls. Case in point, here's one of the owlets in his nest!
Pitfalls
There were a couple of pitfalls that I ran into while doing this. One was that my first attempts at the tweak had memory leaks, and would eventually crash the app and therefore server within an hour of running: it's been a while since I've done raw memcpy calls. Luckily ensuring that I had a static block of memory that I reused for every frame and liberally sprinkling @autorelease throughout the code handled it, and it stopped crashing.
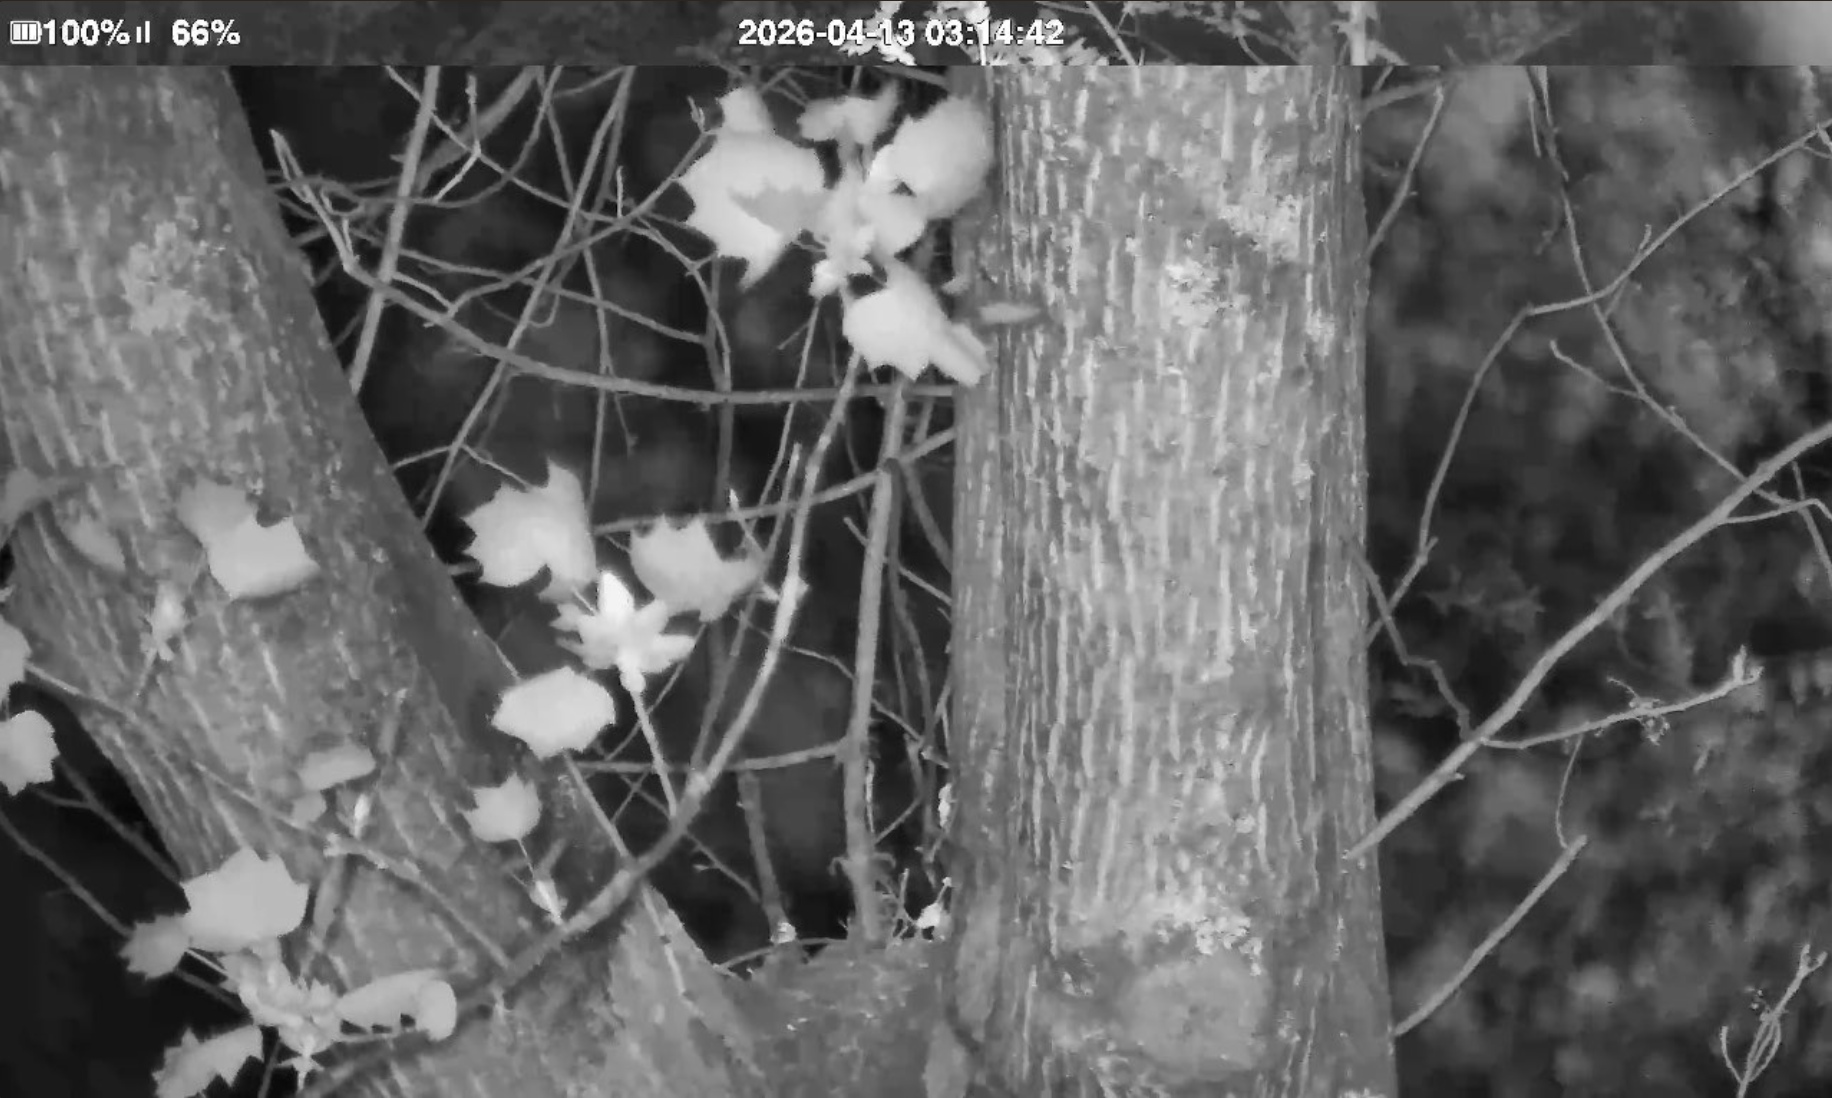
Another was compositing. The raw image is two 2560x1440 images on top of each other: the top is the wide angle and the bottom is the zoom. I just want to display the zoomed in image, but the timestamp and battery were only rendered in the top image. Instead of trying to somehow layer that in I ended up just taking the first 90 pixels of the first image and then the entirety of the second image:
Finally, as I alluded to above, while the camera battery did an admirable job and the solar panels helped to replenish during the day, it did end up dying from the load of constantly streaming (here it is frozen on its final frame):
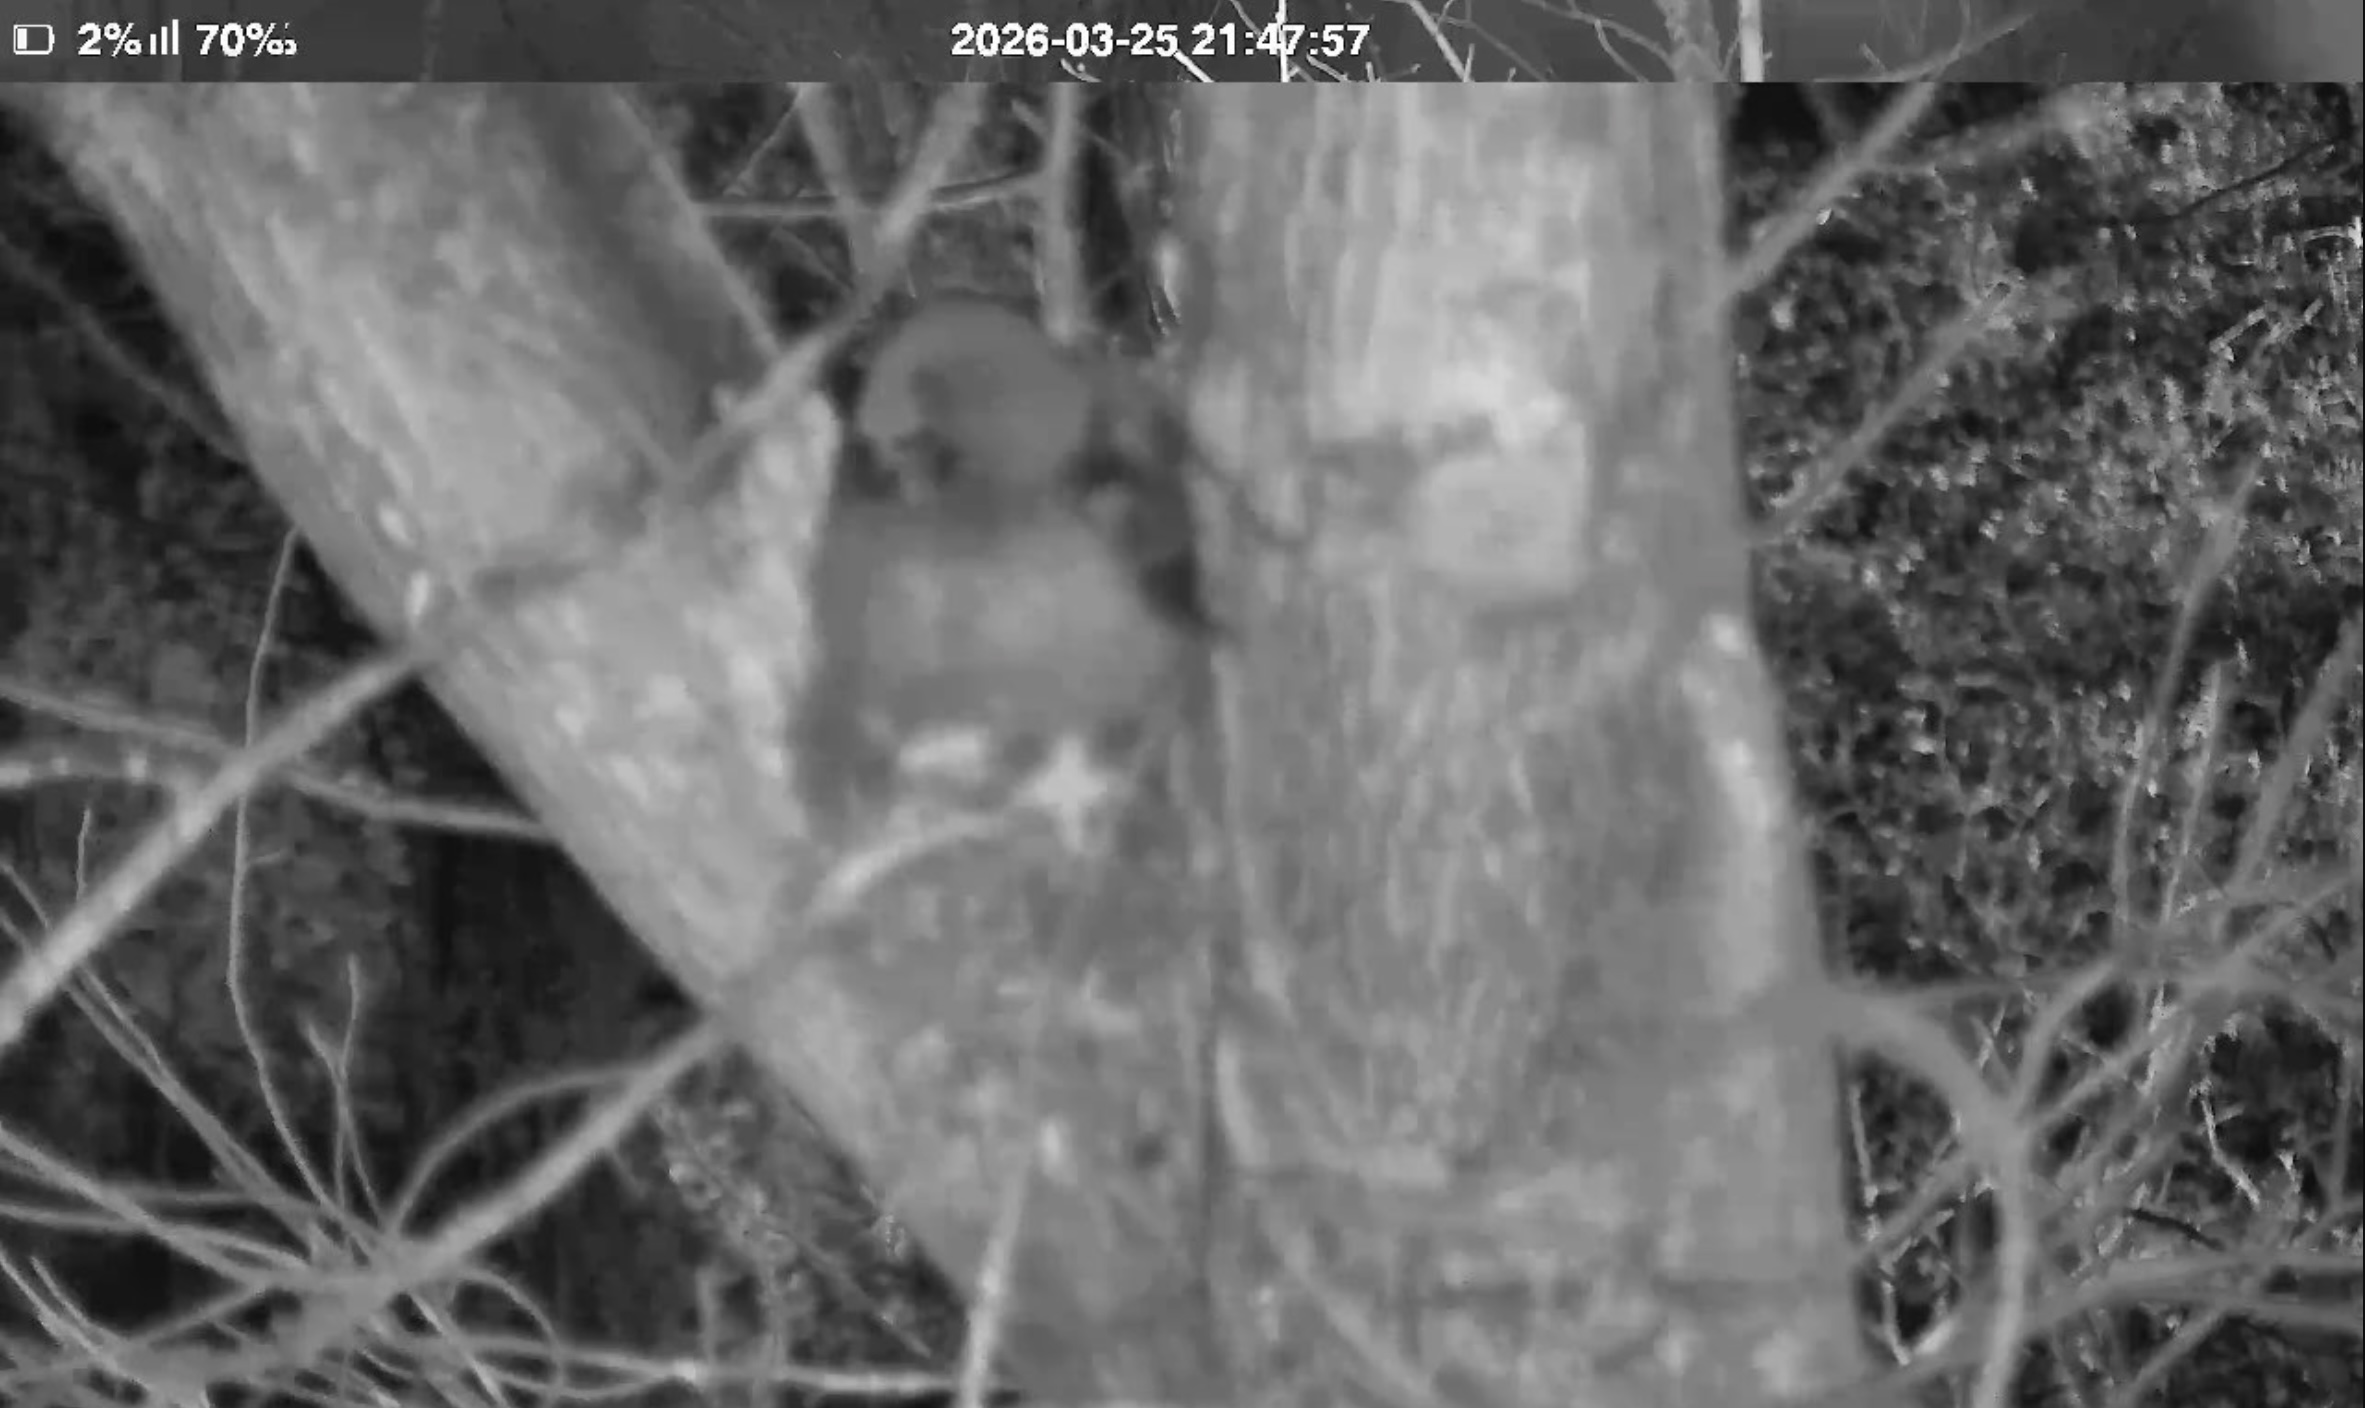
This was resolved with a very long USB-C cable and a good external battery for the week or so until the owlet fledged and took off. An engineering project as ephemeral as its subject, and for me nearly as fun as watching him devour a rabbit up in the tree! And next time, maybe get a security camera that supports RTSP out of the box?
-
In honor of Artemis II's recent mission, here's a topical piece (buy a print)!
↩︎ -
For more information check out the Save the Woods website, sign the petition, or follow him on Instagram (@beals.art) for more on-the-ground updates. ↩︎
-
At least until it was removed by UNC Asheville. But it's found a new home if you're in the area and want to visit! ↩︎
-
Some might say that's because it's overengineered, and I should have just screen recorded a phone. I'd say they're haters. ↩︎
-
Though "control" is a little misleading, given that the joystick has 5s latency and the camera angle seems to reset every time you reconnect to the device. ↩︎
-
This is some mild foreshadowing. ↩︎
-
A standard streaming playlist file, which backs the vast majority of live broadcasts.[citation needed] ↩︎
-
Complete with a separate APK for Mainland China, which I found interesting. Not sure why: I didn't
diffthem. ↩︎ -
Even though the Premium Invention website claimed they did. Maybe this was referring to this Windows wrapper of the app, only available in China?
↩︎ -
Normally apps can prevent this for certain URLs by saying "only succeed if I'm talking to the real server" but because my phone is jailbroken and I'm running "SSL Kill Switch 3" I can bypass the certificate pinning responsible for that check. ↩︎
-
Based on the error page this API is using Spring, and based on the main IP 301-ing to
https://niview-prod-na-pic-1302374016.cos.na-siliconvalley.myqcloud.com/server_static/index-na.htmlthis is hosted by Tencent Cloud, their AWS equivalent. No trivial API documentation that I could find. ↩︎ -
Always more posts in progress, Bay Wheels post Coming Soon™. ↩︎
-
This is a relatively small file, a 48 MB
.ipa. For comparison, Instagram is currently listed at 535 MB. ↩︎ -
rg --binary "The communication module is networking"also helps to narrow down the location. ↩︎ -
You can see more details in this previous post. ↩︎
-
Either in Wireshark, or through an LLM analyzing it with
tshark, given that my Wireshark know-how is tenuous at best. ↩︎ -
This is a bastardization of terms. YUV is a color representation like RGB, but where RGB expresses each color as a combination of Red, Blue, and Green, YUV represents them with a brightness value Y and two color-difference channels, U and V. This was an artifact of going from black and white TVs to color by tacking on more signal, but like all standards nothing dies.JPG, on the other hand, is an image file format, not a color representation. It coincidentally uses something similar to YUV internally (YCbCr) to be able to compress color differently than brightness (human vision is great at brightness and crap at color) but because I'm creating images through
CGImageit's YUV -> RGB -> YCbCr in a JPG. ↩︎ -
This was my personal favorite. I'd honestly still jailbreak to be able to have access to it. ↩︎
-
Truly applicable in this case.
↩︎ -
The royal 'I' now includes Claude for glue work. I refuse to use it for writing, I refuse to use it for hobby projects where the programming is the point, but it's so good for one-off scripts I'll never touch again. ↩︎